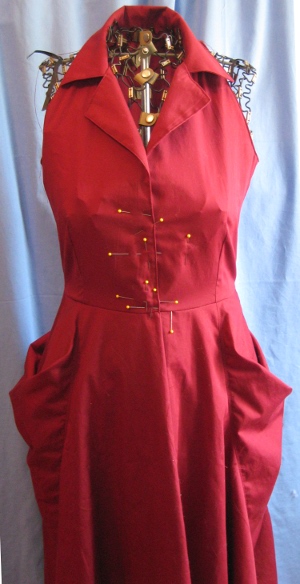
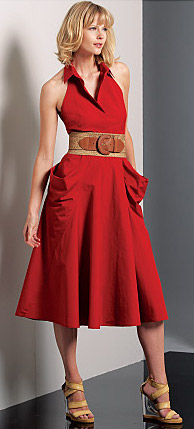
I love the look of Vogue 1088, but the back of the top, not so much.
That’s because there is no top at “back of the top”. Although my hatred for bras exceeds nearly every other prejudice I hold, this is not a dress I could wear without a bra of some kind. Strapless is not an option for me, so I decided to use the bodice from Burda 7658 instead:
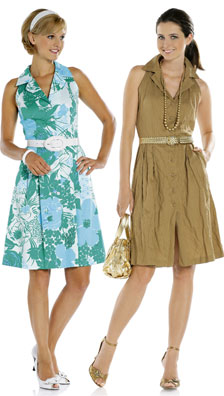
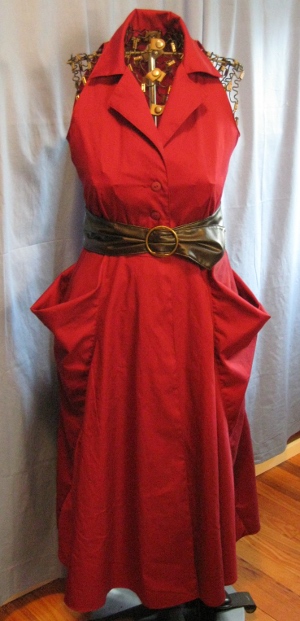
It was nearly a perfect trade-off, facilitated quite a bit by the open front of the Vogue pattern, which has you simply turn the skirt edges back to make a facing. Lots of fudge room there. Here it is, completed:
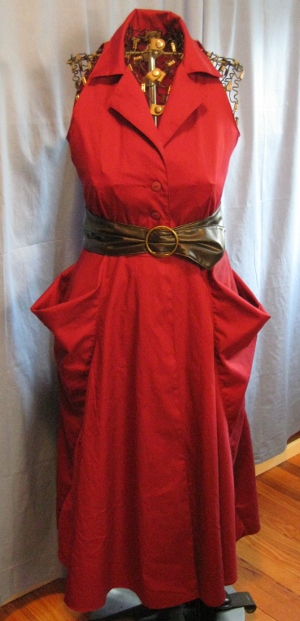
That belt’s all wrong, but I still can’t decide what to do about it. I don’t really like the look of the Vogue belt (just not nuts about hemp around the waist), but I can’t deny that it looks better than the black ones I’ve tried so far. I’ll have to give that some thought.
I cut a ten through the shoulders and waist of the bodice, and a twelve at the bust and for the skirt (I made modifications there as needed to fit the bodice). Although I’m short (5 feet, 2.5 inches to be exact), I did not shorten the skirt, since I love this length.
I knew that the skirt would be a bit of an issue, since it has what looked like huge, draped pockets. Here’s the secret to success with this pattern: Those drapes aren’t pockets!
The instructions, and the pattern tissue, are full of references to something called a “belt”. That’s what those drapes are — fabric “belts” that drape across and over hidden pockets. Hard to visualize? I pinned the skirt tissue together so that I’d have a look before cutting into the fabric:
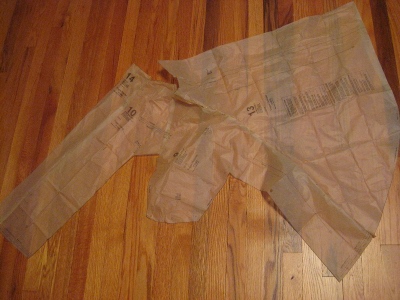
Wonky, no? And so exciting! Angling off over toward the upper right is the facing edge of the skirt front. Attached to it is the skirt side, with what looks like a rounded, squarish piece bulging weirdly out from an otherwise fairly normal-looking pattern piece. That’s the belt. Eventually you’ll pick it up, attach it to the straight edge on the tissue over on the left, and it will drape nicely.
Construction is actually surprisingly simple, as long as you watch your notches and check each piece as you add one to the other. The pockets are supposed to be welted, but I preferred zipper pockets, and I also deepened them so that they’d be more useful.
Here’s a view inside the belt. looking down toward the hem. You won’t want to mistake the belt for a pocket; it’s completely open across the bottom edge:
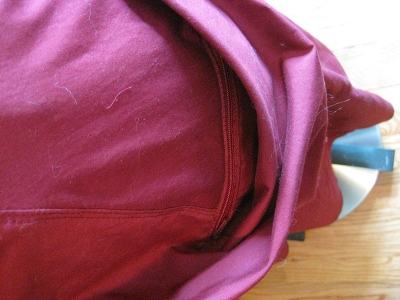
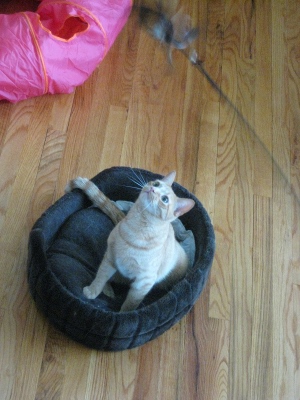
You can just make out the zipper. Yes, that is a light dusting of environmental fuzz. I live with an angora cat. I’m completely resigned; there’s really nothing that can be done about it. At least I have no carpets; you have no idea how that helps.
The belts are just wrapped around and inserted into the back side seams. Easy-peasy. Here’s the way the belt looks as the dress is worn:
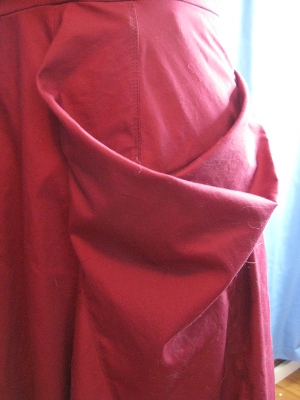
You can’t see the pocket itself at all, and, much to my surprise, the belt draped very nicely even in this unforgiving fabric. In fact, mine looks virtually identical to the Vogue shot.
I loved being able to put in over-sized pockets; the skirt is so full that you can actually use them without anyone being the wiser. The Vogue pockets are rectangles; if I make this again, I’ll make them a teardrop shape that follows the hip a bit better. If you use the smaller Vogue pockets, that won’t matter.
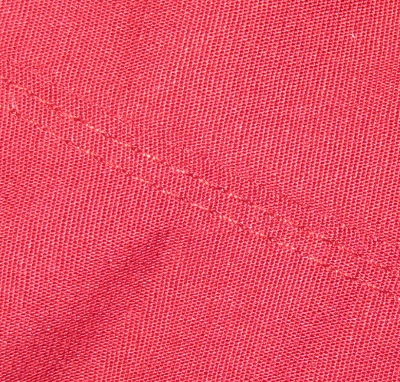
There’s a huge amount of edge- and top- stitching, which I happen to love. If you don’t, this may not be the pattern for you, as it’s functional in some crucial areas. Bliss!
The Burda bodice has the same feeling as Karan’s, but looks just a bit more vintage-y. And, of course, it has that full back. Here it is before I added buttonholes:
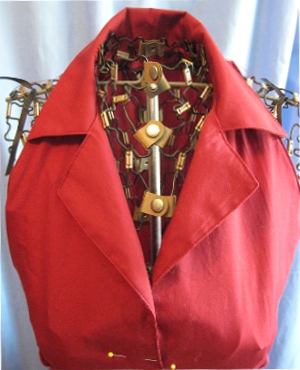
The bodice fit almost perfectly into the skirt, although I should have adjusted the curve at the waist facing to accommodate the bodice a bit better. I had to make a quarter-inch adjustment in the circular rise on each side there.
At least that’s what I thought as I got close to the finish line. However, something went seriously wrong with the back, and I nearly finished the dress without ever noticing. Fortunately, Mr. Noile did, though, and described it to me. Although the armholes fit the way I wanted them to, and both the neck and waist did, too, halfway between the top of my shoulder and my armpit, on either side of the center the back didn’t work at all.
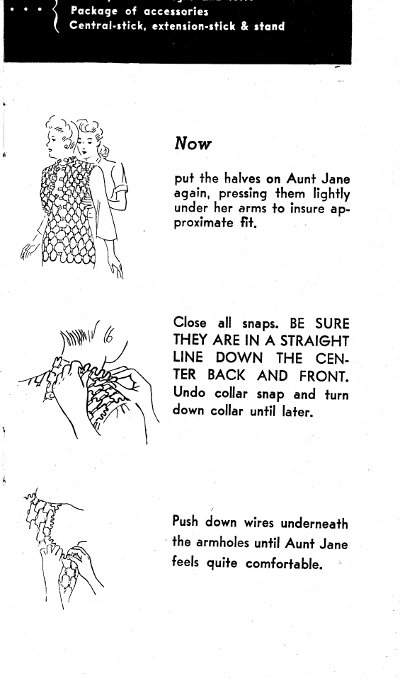
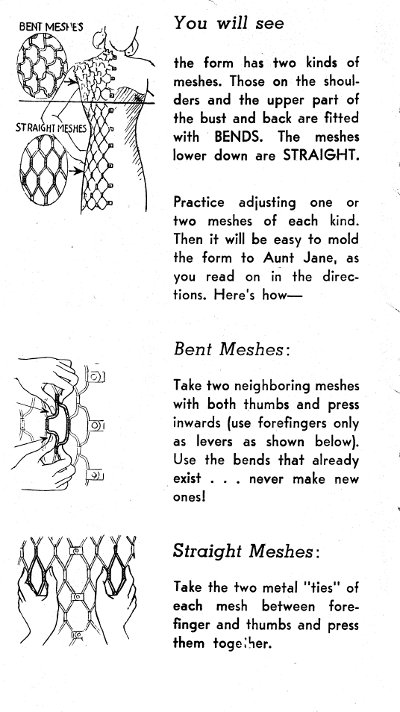
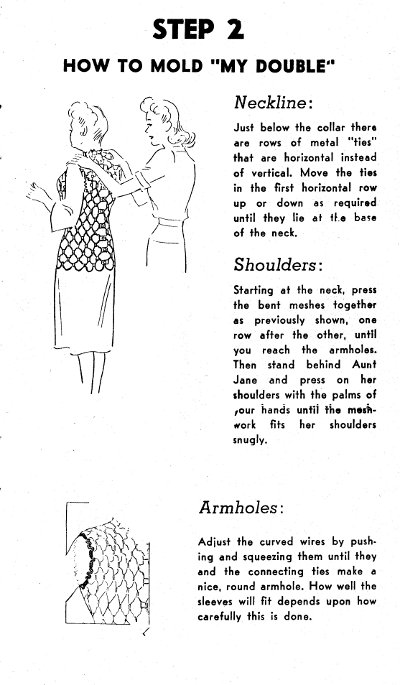
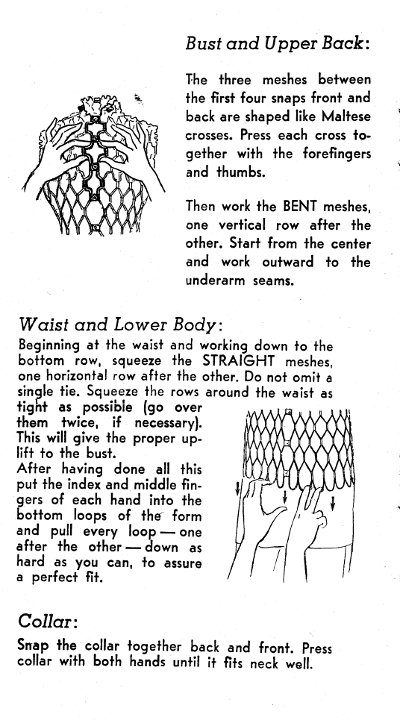
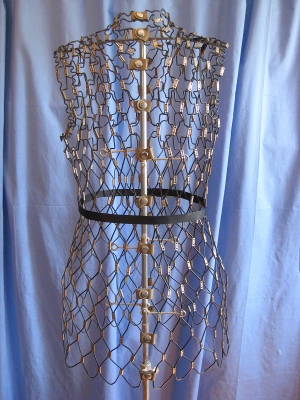
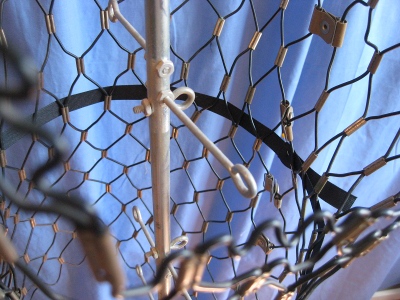
I don’t really know how to describe what was wrong, but, trust me, it was very, very wrong. I think my unfamiliarity with Miss Bedelia contributed to my failure to see this. I may have been guilty of some misinterpretation of some of the lumps and bumps of her wire frame.
In any case, I took a day to consider what to do about it. Should I just chuck the whole thing? But, ohhhh, I do love that skirt! Should I just make the dress into a skirt, and call it an interesting separate?
In the end, feeling like a neophyte surgeon, I performed a whole-back-transplant. Yep, I removed the whole back (and only the back) of the bodice, and replaced it with a newly-altered, newly-cut piece. I hadn’t ever encountered this kind of fit issue before, so I winged the alterations. The final result isn’t perfect by any means, but it’s much better, and certainly wearable.
This was my first Burda clothing pattern, and I wondered what I’d think of the bias-strip finish on the armholes. I think it’s a “no” for me — there’s just way too much bulk when the trim is folded over; I’m worried that it won’t stay in place (on this slanting shoulder seam, anyway, which is longer than the average armhole) without more aggressive topstitching than I want on this dress. I really like a nice, smooth facing. That’s what I’ll do next time.
I did continue the edge-stitching down along the facing edge to keep the edge crisp; Vogue doesn’t have you do that.
I strengthened the buttonholes by using heavy duty thread in my buttonhole foot; I’ll post about that later.
I’m a little a lot too squeamish fastidious to adopt Peter’s attitude toward thrift-store sheets, but I did make this from a (brand-new) cotton/poly sheet, so Peter’s example was not completely lost on me. A sheet was perfect since I didn’t want to spend a fortune on an experiment, and I knew it would it let me be wasteful with my cutting layout, if that were necessary. Not to mention that I could cut the large skirt pieces, doubled, flat, without having to do each one individually.
Yes, this is a “wearable muslin”. I hate to jump into the controversy about that term, but, for what it’s worth, here’s my take: When I did proper tailoring, I made a proper muslin. You have to; it’s part of the process. A tailor’s muslin isn’t ever worn, or even “finished” (as Ann points out). However, now that I sew things that are much less structured, I often make them up in a fabric I feel free to toss if it doesn’t work out — or to wear, if it does. That’s what I call a “wearable muslin”. Times change, terms change. We can adjust. Or defend your terms, as Ann does, very well and amusingly, in her post, which you should read!
Making this dress did remind me of how utterly awful cotton/poly blends are. Gag. The next sheet’s going to be 100% cotton.
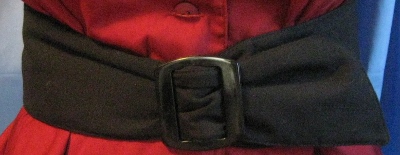
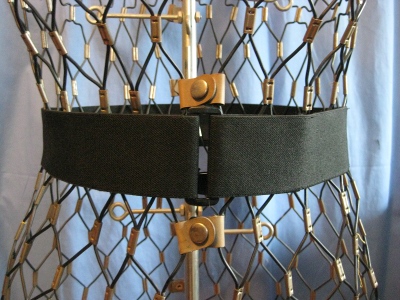
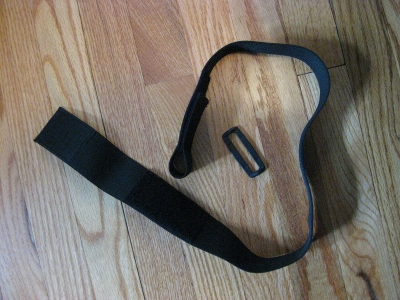
Related: I made a different belt for this dress — see Quick Belt

