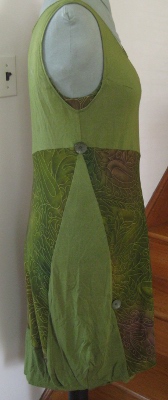
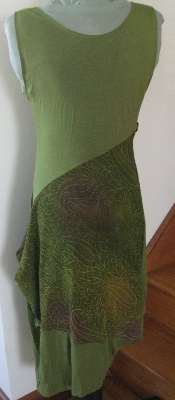
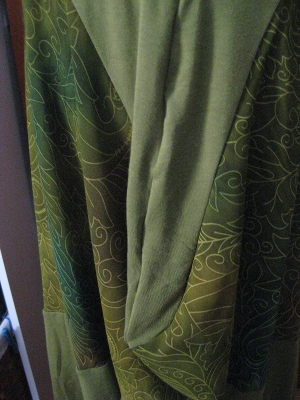
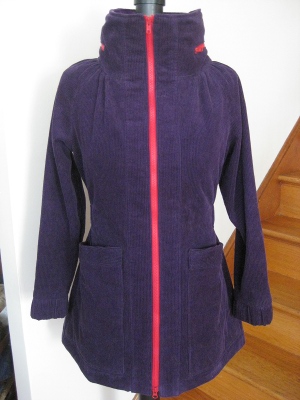
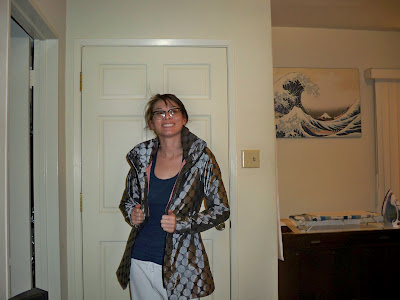
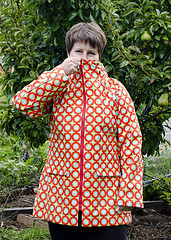
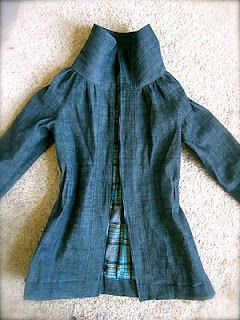
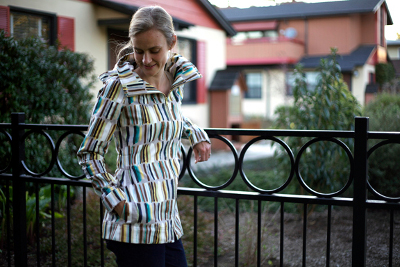
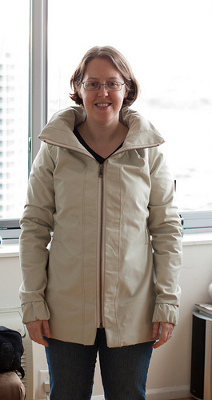
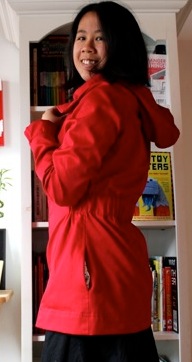
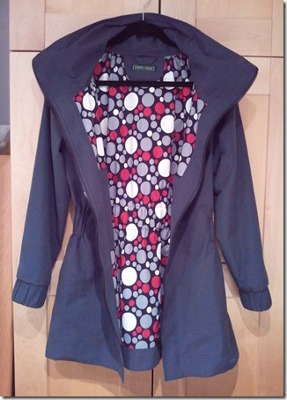
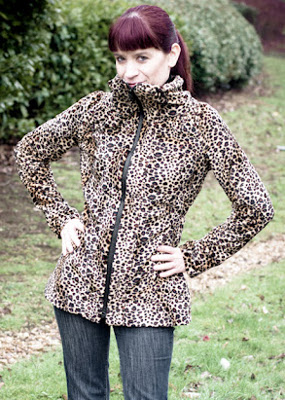
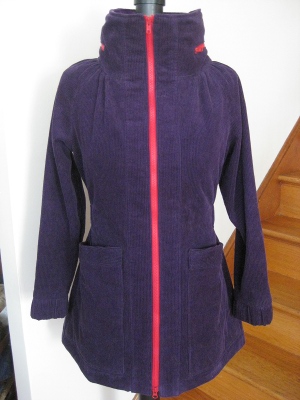
My version of this coat (?) jacket (?) is “Koos lite” because I changed a bunch of things to make the construction and planning simpler. For me, at least. Your mileage may vary.
My duct tape dummy lists a little bit, but you get the idea.
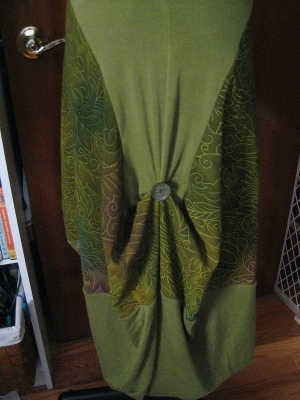
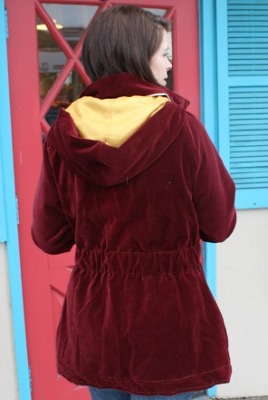
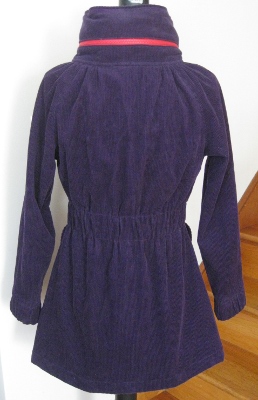
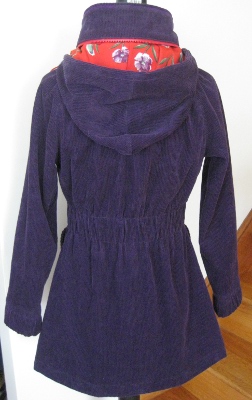
Here’s the back:
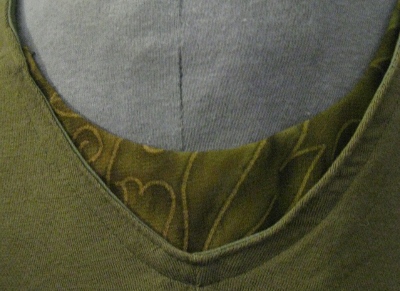
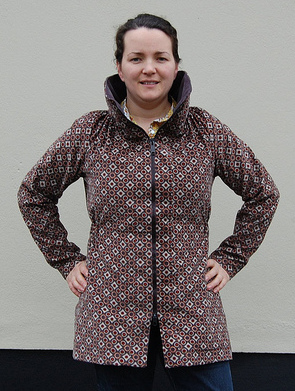
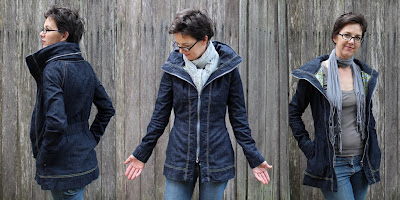
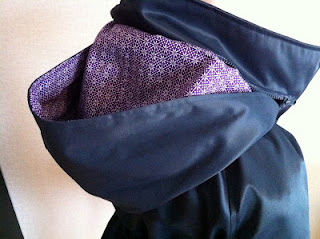
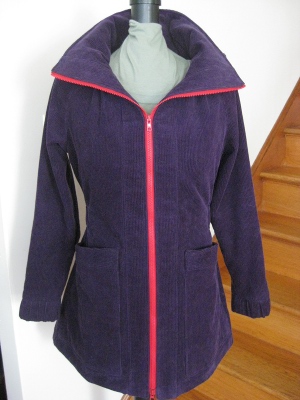
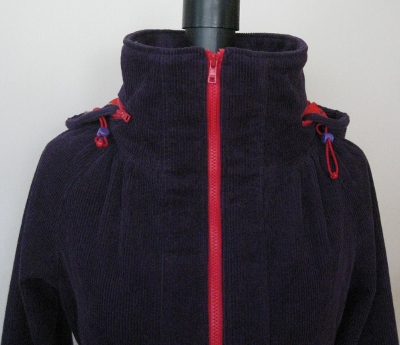
I was in love with the Snow White collar at first, and may still love it when I’m wearing it in a brisk wind, but Jilly Be cut hers down, and that might be a good idea. It’s one tall collar. Folding it down makes it more human scale, but reduces the drama a lot. Here it is with the collar turned down, reducing the size and showing some contrast:
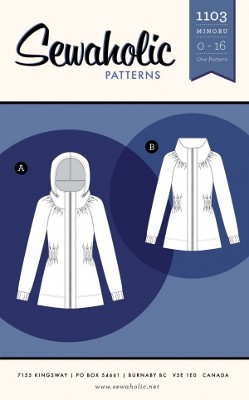
Patternreview bizarrely describes this as a “cape/coat” or something along those lines, but it’s not any kind of cape. It’s an open swing coat. It’s not at all difficult to sew, but the construction of the primary side is time-consuming, and requires some care: For instance, nearly every piece of this coat is bias, so stay-stitching is absolutely critical. Here’s the photo from the pattern envelope:
I wanted the look of the Koos design, but not the bother, so I did quite a few things differently from the Vogue instructions.
~ I made the two sides of the coat entirely separately, treating the solid side as a reversible lining.
~ This allowed me to top-stitch instead of flat-felling. I have vowed to never do another flat-felled seam, not just for 2012, but forever.
~ I did not quilt the two layers together. This makes my solid side much less interesting, but saved me hours of aggravation. I’m not a quilting fan, either.
~ Although I made a special trip to New York to find bias trim (make-it-yourself bias trim is also on my “nyet” list), I decided not to use it, or any trim, along the seam lines.
~ I didn’t make the welt opening on the pieced side, because I didn’t want to interrupt the flow of the fabric. The pattern calls for a single pocket, attached to the solid side of the coat, with openings on both sides. I attached the pockets on the solid side of this open coat, but skipped the access from the pieced side. Not having pockets on one side may drive me crazy, but, if so, I’ll deal with it later.
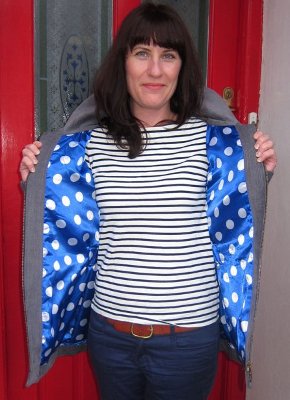
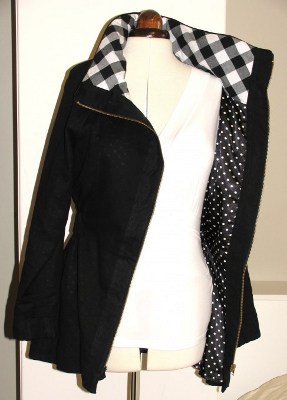
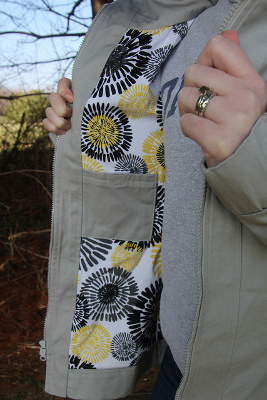
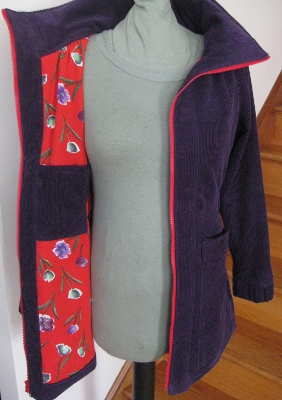
My reverse solid side, front:
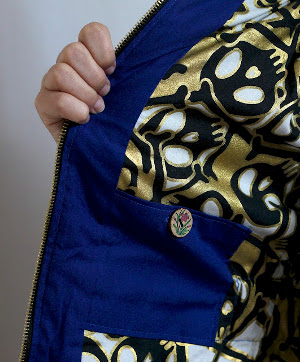
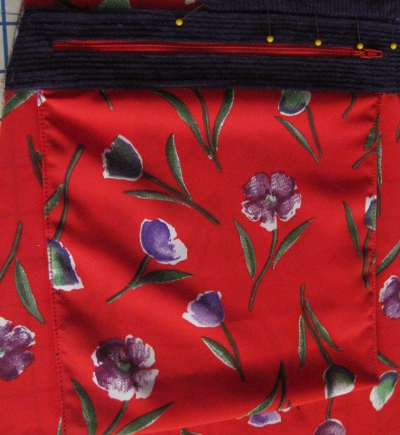
My pockets are larger than the Vogue ones. I always use a narrow seam for patch pockets, and since I love over-large pockets, I didn’t alter these to reflect my seam size preference. I always line my patch pockets “patches”, and these were interfaced, too.
The Vogue instructions call for quilting along the seam lines on the pieced side, so that the solid side gets quilted. The quilting looks fantastic in the Vogue photos, but I have neither the patience nor the skill to attempt anything that ambitious, so my reverse side is much simpler.
Here’s the back:
I’m not thrilled with the finish on the cuffs, so I may re-do them (it’s Noile issue, not a Vogue issue), and I made a horrible mistake that I was unable to correct (after three tries!), which I’m not going to confess to. Not in detail, anyway. I’m hoping it will go unnoticed by all but the most observant sewists.
Vogue made things unnecessarily complicated by using two different numbering schemes for the pattern. One is for the pattern pieces themselves; the other is for the contrast panels. The pattern pieces for the largest, lower, coat band are numbered 5A, 5B, 6A, 6B, but the band is meant to be cut of a single fabric choice.
Several other pattern pieces have different numbers than their corresponding sections. Why? Why not make the numbers identical? Visualizing that bottom band would have been much easier if both the section on the coat, and the pattern pieces, had been named “5”; why not name the tissue sections 5A, 5B, 5C, 5D?
Vogue calls the reverse, solid, side of the coat “Contrast 1”. Why not call it “reverse”, or, if they must, “reverse contrast”? If you’re using different fabrics for each section, surely simplifying the process would be a boon. I ended up photocopying the relevant illustration (above), and making my own road map, which was a bit of a pain that could have been avoided with a little more thoughtful editing.
Although I wasn’t using contrasting fabrics for each section, I did still have to keep the individual pieces in mind as I cut and sewed, so calling each by a single, consistent, number was far more useful than trying to deal with two different designations.
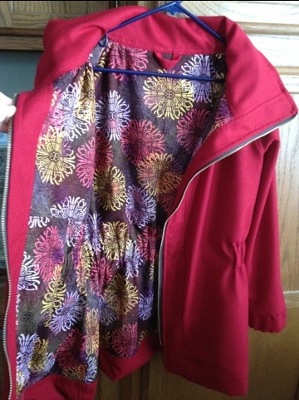
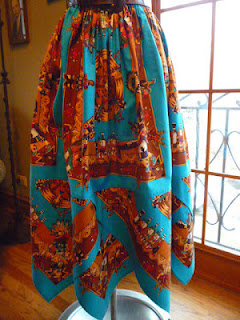
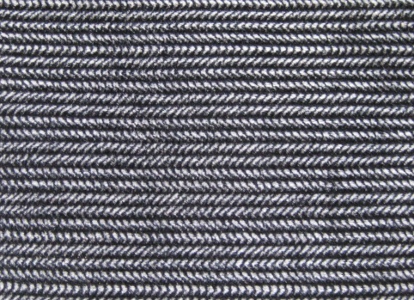
I did want something of the Koos crazy-quilt, wonky-contrast appearance, but didn’t trust myself to choose fabrics. I’m seriously design-challenged, and Mr. Noile would tell you that I’m not very good at color selection, either. However, I had this in my stash:
I fell in love with the colors (no knowledge required!), at least partly because it’s like nothing I’ve ever worn. There’s a lot of textural variation woven into the fabric, which is impossible to see here. It’s “Richloom Studio Valliant Spice”, from JoAnn. Yes, “valiant” with two lls. Classy. Incidentally, I see that the price on the website is over 10% higher than the store’s regular price. Plus shipping, of course. Don’t do buy it online; it only encourages them.
It’s 58% polyester, 42% rayon (no label in the store, naturally, so I found this information on the website), and washes, gently, in cold water, just fine. I dried it in the dryer, too, being careful not to over-heat or over-dry.
Washing created a bit of puckering in a few (consistent) spots, which just added to the interesting texture, of which there’s a lot already. The price is JoAnn ridiculous, even in the store, but that’s why the deities invented coupons. And remnant bins.
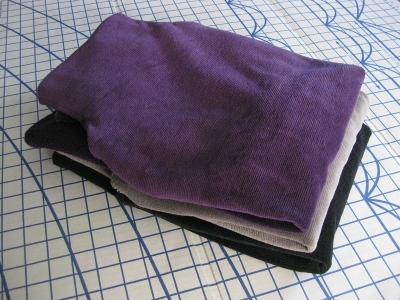
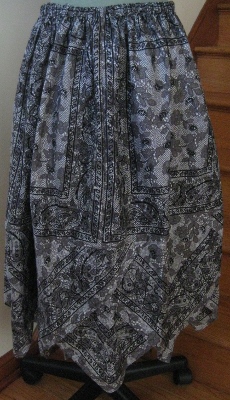
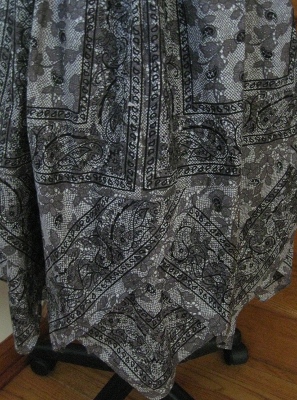
I didn’t have enough to make the coat face entirely in that material, though, and, in a stroke of amazing luck found this:
It’s also upholstery fabric, with a light backing, from Jomar. JoMar is a Philadelphia-area institution; bargain prices, and often, fantastic finds, but the stores are filled with junk. Lots and lots of junk. Did I mention that you’ll score fabrics, even luxury fabrics, at JoMar that you can’t find anywhere else? For pennies?
JoMar’s best for stash-building, though, since you can never know what you’ll find. This was a JoMar miracle, as I walked in desperately needing a second contrast for my coat, and didn’t want to resort to corduroy. On this particular day, I found exactly what I needed, immediately.
I never let the fact that something’s technically “upholstery” worry me. I tossed both fabrics into the washing machine to soften them up (and make them less sensitive to liquid in the future), and they were set to go.
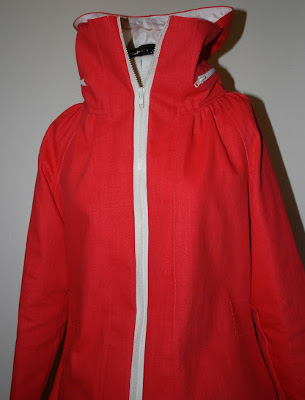
Vogue calls the reverse side of the coat Contrast 1; I think it would have been better to call it “reverse” since there’s already so much “contrast” to track here. Mine is a luscious rust from Kashi at the wonderful Metro Textiles; it has a burgundy note which isn’t at all obvious here, but works perfectly with the my main fabrics.
There’s nothing really to fear when approaching this pattern. (At least not once you’ve made your fabric selection.) You do end up sewing miles and miles of seams that involve attaching inside curves to outside curves, but a little diligence and care (and some careful basting or pinning) will make short work of that.
The reverse side couldn’t be simpler, and this coat would look wonderful made with two solid sides, as well as work up very quickly. Since I made the two sides separately, I started with the reverse, just to be sure there weren’t any basic construction challenges. There weren’t; it went together quickly and easily.
However, there are some unusual challenges to the overall project. Assembling the pattern is a whole step of its own; you’ll need space and a fair amount of time.
The sleeves have a wonderful bias seam, so shortening them requires some creativity. I shortened the sleeves by about an inch (I like my sleeves quite long, but I have short arms) by pinning the pattern together, drawing a horizontal line at the lower bicep (JillyBe did hers at the wrist), cutting, slashing, adjusting, and redrawing the side seam.
Laying out and cutting the material requires a huge flat space. You’ll need to clear the floor in a large room, unless you have an amazing sewing studio. (Alternatively, borrow a conference room from your workplace or the local library; you’re going to need the space.) In my case, I also had to wait until it was naptime for all five cats. Need I mention that they were all exceptionally alert on the day I’d chosen for the big event? Naptime is 2 PM; they finally crashed at nearly 4. How did they know? I might as well be herding toddlers here.
Then things get complicated, if you’re following the Vogue directions and going Koos all the way. His design is fabulous, and will yield a result that is much grander than my coat, so I recommend it highly. But, for those who, like me, follow the virtuous programmer* approach to life, this was too much.
Instead of quilting both sides of the coat together, I constructed them separately, sleeves and all, and joined them all around the hem, sides and neck, leaving an opening at the side hem to turn it.
Since I wasn’t using bias trim, I simply sewed each section together, right side to right side.
I trimmed and hand-tacked every single seam allowance. I thought this was a good idea for two reasons: one, because the bias tape would have supplied some (possibly quite necessary) support for all those bias sections, and two, because that helped to keep the seamlines smooth, and reduced bulk inside the coat.
Then I finished the sleeves by turning the hems in along a stitching line I’d previously made, and carefully hand stitching them closed. With practice, this can be done invisibly by catching the machine-sewn stitches. Top-stitching ensures that everything stays in place.
One last tip: Buy the giant spool of thread. I didn’t do any quilting, and this was still a five-bobbin project. Admittedly, my Pfaff has smaller-than-some bobbin capacity, but you’ve been warned.
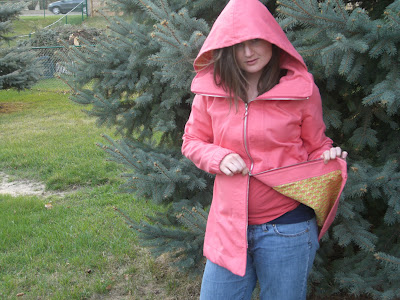
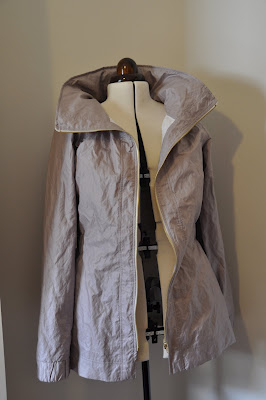
Jilly Be and Jan are in the middle of constructing this coat, as it’s meant to be constructed, and their coats look as if they’re both going to be beautiful. Check them out for a different take on making this marvelous jacket.
*The three great virtues of a programmer, as described by Larry Wall, are laziness, impatience, and hubris. I’ve incorporated these into this project in this way: Laziness — I wanted the best result with the least effort; Impatience — I wanted it done in three days; Hubris — I determined to do this my way, no matter what those silly Vogue instructions said.
Needless to say, you can get into a lot of trouble following this credo, but it will be fun trouble.
In the Noile family we have one programmer, and one cat, who believe absolutely in this credo. It’s rubbed off. Literally, in the case of the cat.