
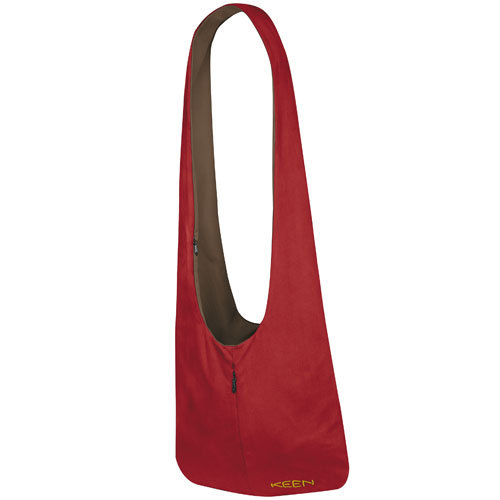
On a trip to REI a couple of weeks ago, I found this Keen Rose City Shoulder Bag crumpled under a stack of stuff in the miscellaneous luggage department. Since it had been remaindered, I snapped it up: it’s the bag I copied and wrote about in this previous post. Here’s the fabric side of the bag, in a really nice, Ultrasuede-like lime (Keen calls the color “Sweet Pea”):

When I got it home, I discovered some interesting things. First, the reason one side of the Keen bag is so unforgiving is because it’s made of recycled rubber. Kudos to Keen for the environmental action, but this is a reversible bag, and, yuck, that’s really not nice next to the body! However, when I tried it on, I realized that there’s no reason it wouldn’t work fine as the lining. Here’s the rubber side, in deep purple:

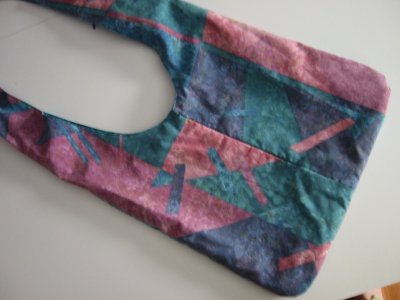
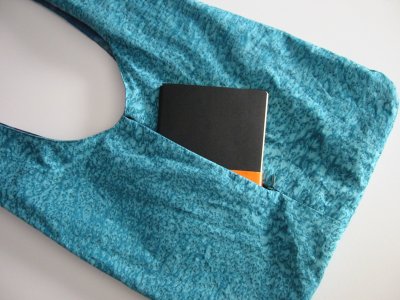
The second thing I discovered is that Keen’s side pockets are really small. The interior pocket is teardrop-shaped — great for a hand, but maybe not so useful for stuff you might put into it. The pockets are hidden in the center seams, but there’s just one on each side. There’s also just one pocket along the neck strap. I like my version better, with two pockets on each side (one inside the bag, one outside), and two on the neck strap.
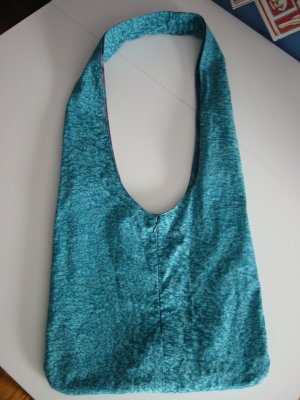
I didn’t buy the bag in the first place because of that stiff rubber, and because I really disliked the puffy look of the edges. See how the the different types of material fight with each other above? Well, now that I had one to play with, I decided to see what I could do about that. Here’s the result:

I edge-stitched all around the bag’s openings. That gave the bag a really sleek, tidy edge all around. Ideally, I’d have used a topstitching thread, but, not surprisingly, I couldn’t find one in the right shade of lime. Sometimes stitching a heavy synthetic non-woven can result in perforations that act as a tear-away line; using a heavy thread can prevent this. Since I had no choice about the thread, I used a longer stitch length to create more distance between the holes on the rubber side.
Here’s a detailed look at the edge of the shoulder strap. (The bag’s on my dummy’s shoulder, and the color you see probably isn’t anything like the really glorious Keen color.)

That’s probably too much detailing for a relatively inexpensive commercial bag, but it really makes a huge difference, not only in appearance, but also in the way it lies when worn. Which is exactly why we sew, isn’t it?


