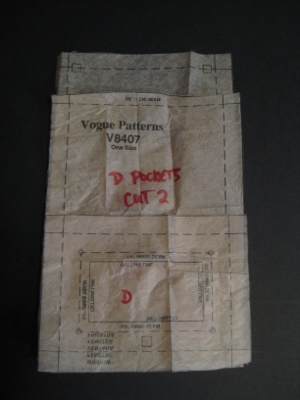
This is one of those patterns with two numbers. Here’s 1775, with a cluttered, uninteresting envelope graphic

and here’s 0311, with the trendy buffalo plaid, and the silly accessories marginalized

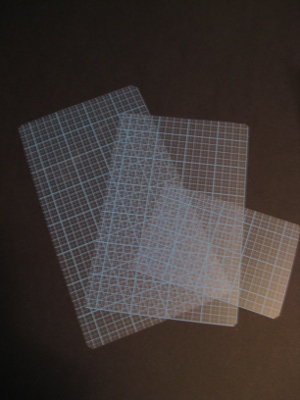
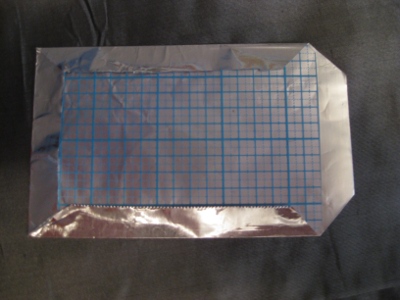
I made my cape out of PUL, the laminate that JoAnn sells in their strange little diapering department. PUL is a polyurethane laminate; in this case, it’s probably bonded to polyester; the fabric itself is a knit.
 Instead of making the tie, I shortened and interfaced the belt, added wide hook-and-loop fastening, and used two over-sized buttons as a faux closure. The belt’s a little loose here; it’s a very nice feature, though, and gives the cape a slim line.
The length and proportions were right for me. I wanted the cape to cover my tush, so that I could wear leggings with it. Tall people might want to alter that — the length is the same for all sizes, and if it’s just right for 5’2″ me, it may be far too short for average height, or taller, people.
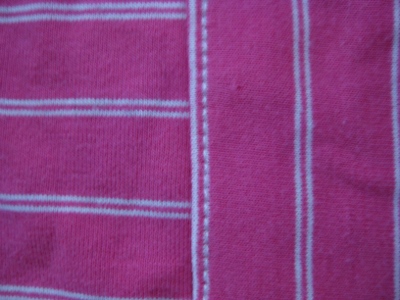
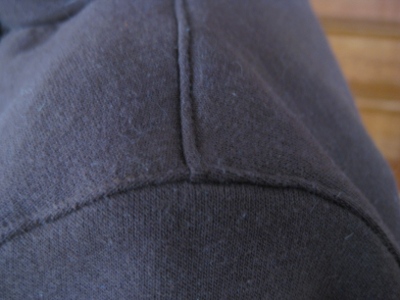
The pattern calls for a lining, but I wanted this cape to be as light as possible, to make stowing it in a bag easy. To finish it, I turned the edges, and coverstitched:
 The white laminate leaves the impression of a lining, and the coverstitch makes it all look deliberate.
I thought that the PUL would be difficult to work with; it wasn’t, except for turning the belt casing. In that case, the material tended to cling to itself. Folding and stitching could have solved that problem, but, as the belt is wide, I was able to turn it by keeping at it, patiently.
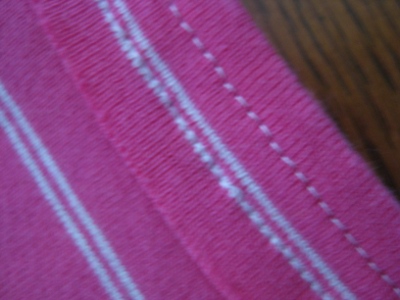
Pinning is a bad idea when sewing PUL, though theoretically possible if you stick to the seam allowances, as you must when sewing leather or leather-like synthetics. For the hem, I used binder clips:
 These are “smalls” and “minis”, which I used liberally, to make sure the hem curves stayed in place.
 This method worked perfectly, and the clips left no marks. I found this container at the office supply store, which lets me keep the clips sorted by size, and minimized the mess while working with them:

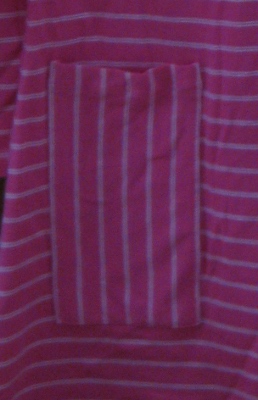
The pattern has some nice features: the facing pieces have only two sizes, so it’s actually possible to see the cutting lines; the ink on the tissue pattern is dark, and very easy to see and use (unlike the very pale inks sometimes encountered with the rest of the big four companies); and there’s an extra, appreciated, touch to the design — belt loops in the back:
 The belt circles around the back, goes through the loops, and then into two “buttonholes”, along the torso, then out two more “buttonholes” in the front. This holds the cape close to the body, making it much easier to wear than an unrestrained cape. The sides are wide, enough, though, that my arms don’t feel too constrained while wearing it.
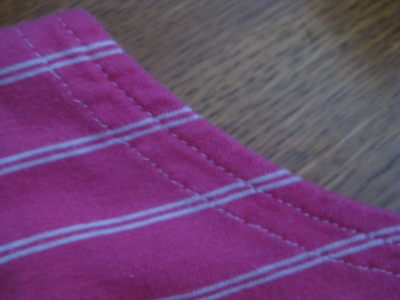
The PUL material is somewhat breathable, but we’re not talking Gore-Tex here. It is light and flexible, which made it a good choice for a cape that will spend much of its life folded, only to be brought out in an emergency. The pattern called for topstitching all around the bottom edges of the facing, but the PUL was not going to cooperate with that, so I settled for edgestitching around the neckline.
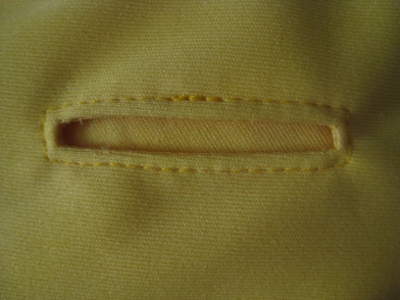
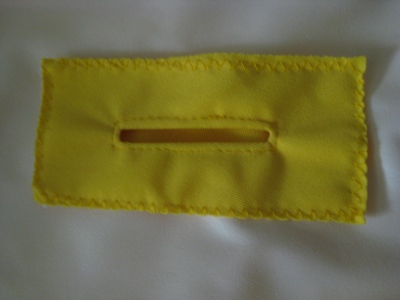
In another concession to the fabric, I didn’t do machine-made buttonholes; instead I faced (and interfaced) rectangular, buttonhole-sized cuts in the material, turned the facing, and edgestitched all around. It’s a cleaner look, and should wear better.
The inside facing just floats; that works fine in this material.
I wasn’t brave enough to do the same for the button at the neck edge, though (or for those on the belt). At the neck, I simply made an ordinary buttonhole. I doubt it will wear as well, but dealing with all the layers of cape, interfacing, seam junctions, and facing was just too daunting.
There’s a separate hood pattern included, but it’s basically a rectangle, and I wasn’t tempted to make it. If I want a hood, I’ll draft one myself, or I’ll look for one with shaping. An over-sized rectangle isn’t very pleasant to wear, or manage, in rain.
Printing two envelopes is kind of a waste of ink, isn’t it? And/or effort? And using two numbers is confusing, isn’t it, especially if you’re looking for reviews . . .