I started this handbag in the first week of February, but then Noilette had appendix surgery and I spent a week in NYC unexpectedly. (All is well; she got through with no complications at all, thank goodness.)
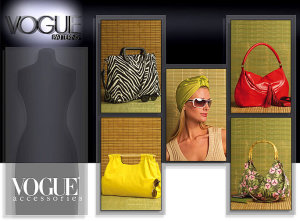
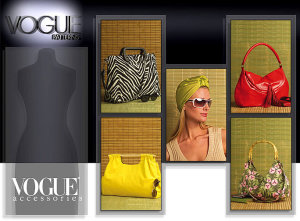
This particular pattern (I made view C, lower right) is a really simple one: it’s just bag, lining, and (purchased) handles. I must have thought it was a bit too simple, because I ended up changing quite a lot. Here’s a quick run-down on the changes I made:
- Added a second internal pocket.
- Re-configured the internal pockets.
- Interfaced the lining to support the internal pockets.
- Created two large pockets between the fashion fabric and the lining.
- Changed the closure to two magnetic snaps, instead of tab-and-snap.
- Made self-fabric handles.
- Added small D-rings to the handle connections for the shoulder strap.
The right-sized handles were impossible to find (not even M&J Trimmings, in the city, had them!), so I decided I’d make my own. My view, C, called for 10 1/2 inch wood handles. No way I was going to use bamboo (can you say “ouch”?), but I couldn’t find any handles that size in any material.
Here are the ingredients I assembled. First, the fabrics:
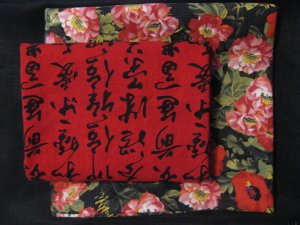
The outside of the bag is the background fabric: black linen. Boring, yes? But there are a slew of would-be summer dresses in my stash, and black is what they have in common. To compensate, I chose the floral print (leftovers from a bathroom curtain) for the lining, and the red and black calligraphy for the internal pockets.
Next, the notions:
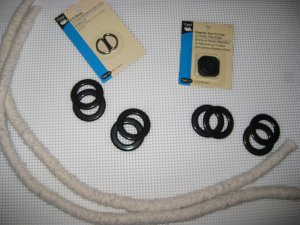
Upper left, small D-rings; then sew-in magnetic snaps; four sets of plastic rings (to attach the handle); and fat upholstery cord for the self-fabric straps. All this stuff is lying on plastic mesh, which I had planned to use support the bottom of the bag.
Of this collection, only a single magnetic snap is on Vogue’s notions list, so I’ll explain the rest as I go.
First step was the lining. It’s cut with a fashion facing along the open edge of the handbag, with the lining fabric over the remaining two-thirds of the inside. The single, small, internal pocket strip in the design just wasn’t going to work for me, so I made two changes: I cut two small pocket strips, instead of one, from the lining material, and changed the lining construction by inserting an invisible zipper in each seam between the fashion facing and the lining fabric. These zippers are the access for large pockets I made between the lining and the outside of the bag.
Then I made my own version of the small strip pockets, using a thin interfacing to give them some substance. (I hate trying to pull stuff out of wilting pockets.) After fitting them to the items I’d be using them for, I stitched the strips to the lining, and then stitched vertically to form the individual pockets:
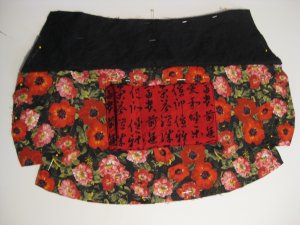
This doesn’t look at all symmetrical, but it really is! (I was standing on a footstool and contorted to keep the overhead light from making a shadow. (Note to self: bad photo technique.) This was really it, as far as assembling the lining more or less according to Vogue’s plan. Very straightforward.
But there was all that potential space between the lining and the outside of the bag and I just couldn’t let it go to waste. So, to made pockets along each broad side of the bag, I cut interlining pieces from some ultra-lightweight microfiber, and basted it in place behind the assembled lining pieces. Then I turned and tacked the long raw edges to the underside of the invisible zippers. This forms one side of the huge internal pockets I added to the bag. I could have left this step out, but I’d have known it every time I reached inside the bag, and it would have bothered me, so I took the extra steps.
Here’s how one of the internal side pockets looks, opened so you can see the interlining:
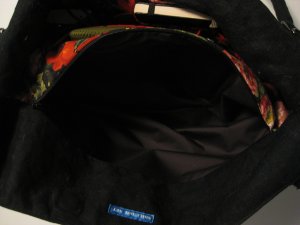
After the lining was in place, I invisibly hand-stitched all around the center seams from the handles, down the sides and across the bottom of the bag. This made a barrier to keep something in one of the huge side pockets from shifting across to the other one. I didn’t end up using the mesh to support the bottom; not only was my interfacing enough to retain some shaping, but this step, so necessary to making my added pockets work, would have been very difficult if I’d had to stitch through the mesh, too.
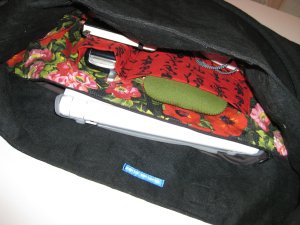
Here’s what the lining looks like, fully assembled and inside the bag, with the pockets filled:
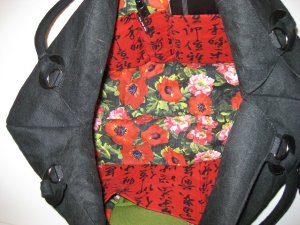
Each of the pockets I added to the sides of the bag is large enough to hold my Asus eeePC, which is the white thing peering out of the pocket. Actually, it’s large enough to hold the notebook and its accessories, too. I could carry two!
See the “noile dot net” label? Those were a present from Mr. Noile:
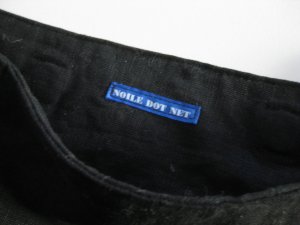
The two little stitched squares to the right and left of the label are where I put the magnetic closures for the bag. I didn’t want to see them, and I discovered that they worked perfectly well if stitched into the bag, instead of onto it. I hated the tab Vogue offered for the closure, and didn’t much like the idea of having just a single tab closing such a wide bag, either.
The Vogue bag has purchased handles, in a size I couldn’t find anywhere, so I made my own using upholstery cording and self-fabric. I sewed a tube, turned it, and then fed the cord through using a small, plastic-headed diaper pin.
I used the pattern piece for the handle loops that came with the pattern, but used them to attach plastic rings to the bag, instead of attaching the handles directly. There are two rings through each loop; I’ve never used anything like this for a strap before, and am a little skeptical about how they’ll take the inevitable abuse, so I doubled them up for strength.
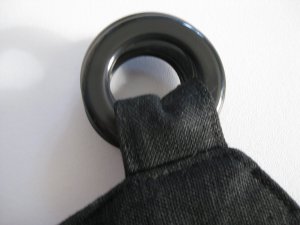
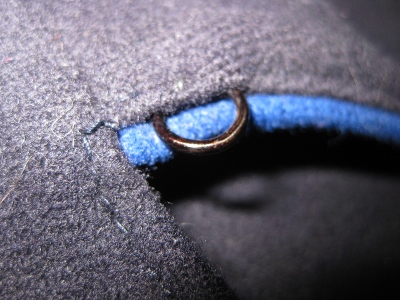
Hidden inside, I put the small D-rings. Originally, I thought I’d make the shoulder strap that Vogue included in this view, but changed my mind, since the straps are long enough so that I don’t think I’d ever need an additional one. I added the D-rings anyway, though, because, well, I just think there’s no such thing as too many places to clip stuff inside a bag!
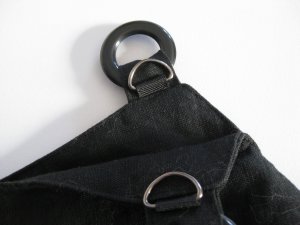
The D-rings don’t show at all from the outside, of course, but now I’ll always be able to find my keys. Many sets of keys.
The straps then just got sewn to the plastic rings. Not fancy, but effective. Finally, here’s how the bag looks, all together:
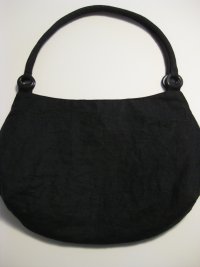
Seriously boring, right? But that’s OK — the lining’s vibrant, and the somber black should be a great counterpoint to my wild and crazy summer dress fabrics (or maybe just a great relief!). I love the size of this bag — big, but not overwhelming — and the shape has a certain style that I like quite a bit now that it’s made up. Not to mention that my modifications have made it really practical for a whole day of either play or work. Now, on to the dresses!
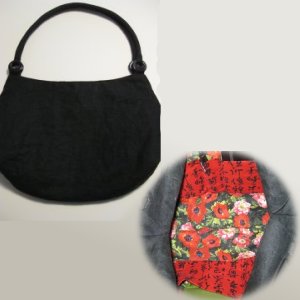
On a whim, I signed up (pre-appendix!) for Pattern Review’s Handbag Contest. Today’s the last day, and this is almost the last minute, so I’ll be making a mad dash to get this posted there. Last time I looked, there were some wonderful handbags entered — go take a look. You’ll be inspired!
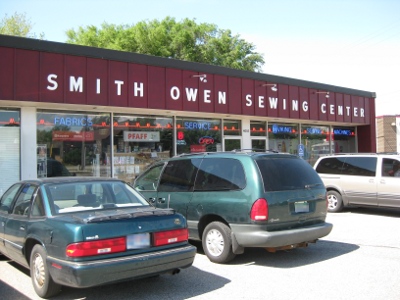 The technician I spoke to wasn’t satisfied just to give me what I said I wanted. Instead, he asked me to tell him exactly what was going on with my machine. I mentioned that our travels would take us to northern Michigan, and he suggested that I drop the machine off — saying that he was pretty sure that he could have it fixed by the time we left the state.
