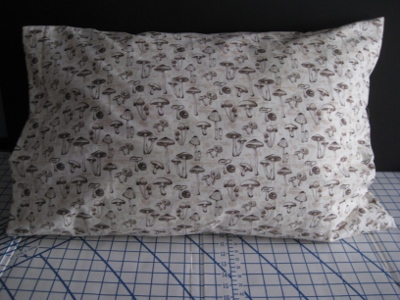
A dear relative has made her life work the pursuit and study of the mushroom. I wanted to make her a set of silky pillowcases so that she could spend her drowsing moments with images of her favorite obsession.
Do you have any idea how difficult it is to find serious mushroom prints on fabric? Oh, sure, the cartoon mushroom is everywhere; so are psychedelic interpretations of the honorable fungi, colors and shapes distorted beyond recognition. And fungi with elf-dwellers below: there is plenty of that.
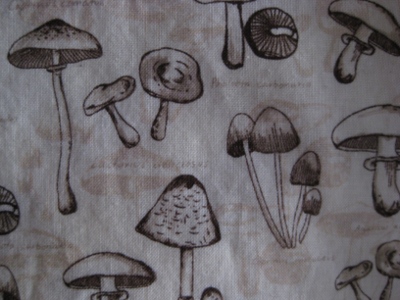
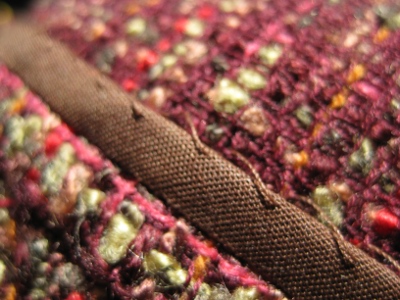
Fortunately, a chance stop at a vacuum cleaner/sewing machine shop fairly far from home turned up this lovely print complete with proper identifications in Latin. I was stunned! So was the clerk, who pointed out that I was buying the last of a whole bolt — and that the store had gotten two in. She said she couldn’t imagine how they’d ever sell it . . . and yet, it was disappearing like mad.
I whipped the pillowcases up in no time, but these aren’t ordinary pillow sleeves. Although these can be used like standard pillowcases, I deliberately designed them to be used differently.
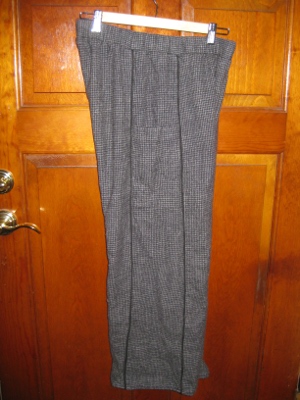
 I dislike, intensely, this (shudder) ugly gap, in which the pillow, and its under-dressings, show through the opening. Surely this is not how pillows are meant to be used!
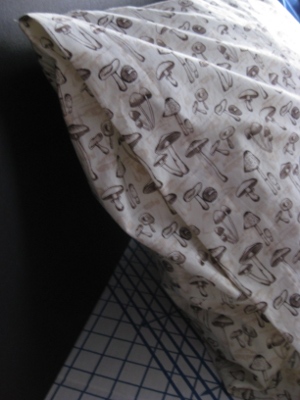
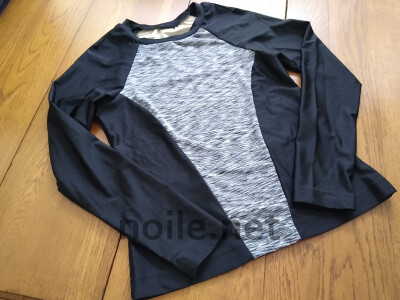
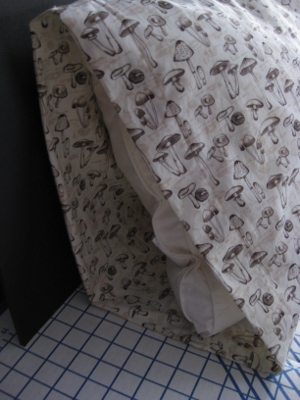
Is this not much nicer? It’s still a light, comfy pillowcase, but how much better! There will be no pillow slippage here — where one wakes up in the morning to discover that the pillow has wrestled itself half outside the case, seeking an unclothed domination over the bed. There will be no uncertain moments during the night when the coarser cover of the pillow itself sullies the sleep experience.
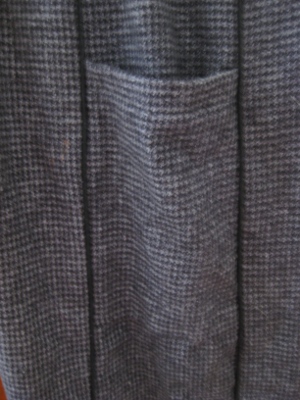
Also, an encased pillow just looks nicer on the bed, even if under the covers. Make sure you plan ahead, though, since you will need to cut the front side of the pillowcase longer, which will affect how much yardage to buy. My finished flap was about five inches, plus about three-quarters turned under on its raw edge, so my front piece had to be at least that much longer than the back.*
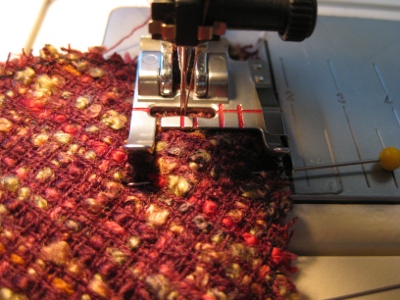
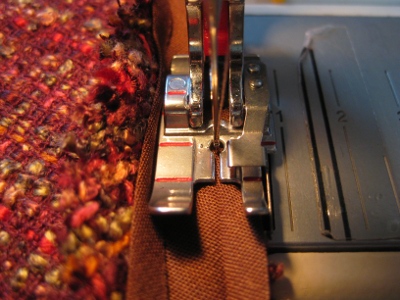
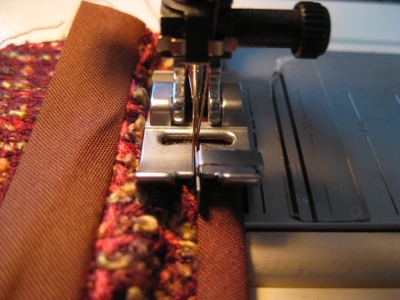
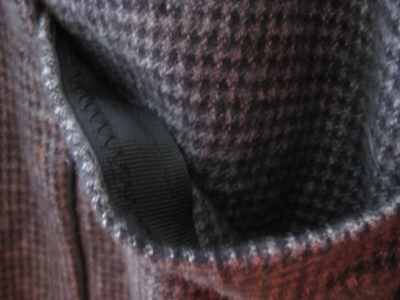
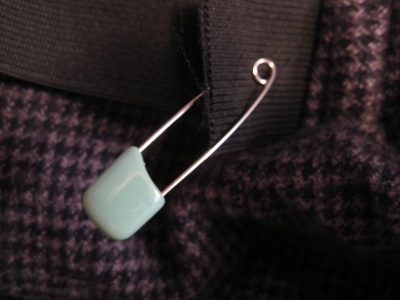
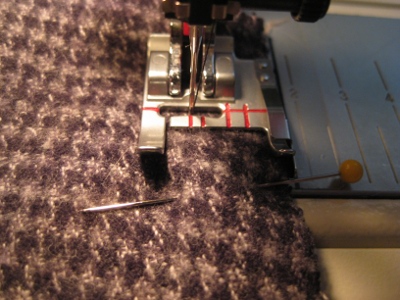
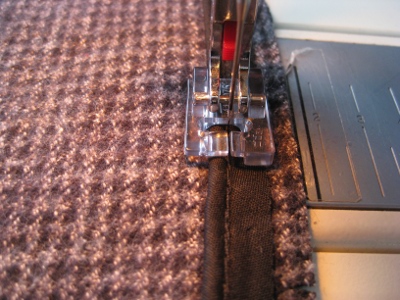
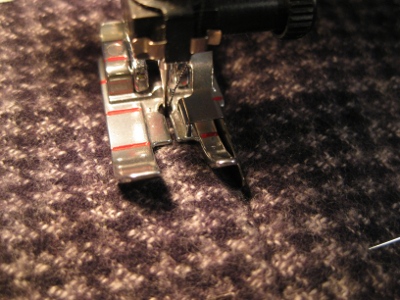
All I did was stitch up three sides of the pillowcase (French seams, of course, for a neat finish), and hemmed the back open edge as usual. The front edge then got a deeper hem. Then I turned the pillowcase inside out, and folded the deeper hem against the inside front of the case.
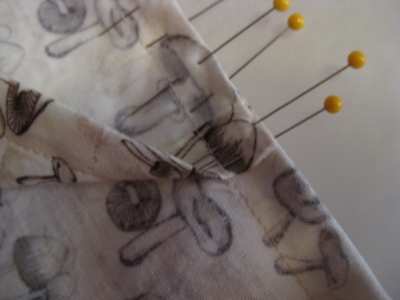
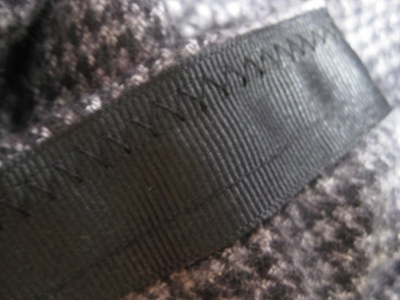
I then stitched along the existing seam line to hold the deep hem in place. It doesn’t show here, but I also bar-tacked at the end (within the seam allowance), rather than simply back-stitching, since the lower edge of the deep hem will be subject to unusual stress when folded over the pillow.
The pillow can be slipped inside just as usual (in the Philistine fashion!), or it can be popped into the case, with the deep hem folded over the opening, so that nothing shows but your preferred fabric.
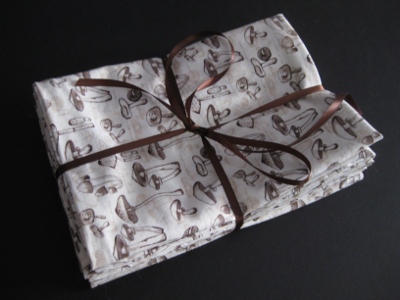
It was a small gift, but it bundled up quite nicely.
I admit that when I replace our current set of pillowcases, I’ll probably serge the seams, which is far less elegant, and correspondingly more efficient. (Mr. Noile sleeps with nine pillows; do you blame me for wanting to cut the labor short?) For a gift, though, French seams and the neatest of finished edges are the right thing.
*Thanks, commenter LindaC, for having noticed that I left this crucial bit of information out!