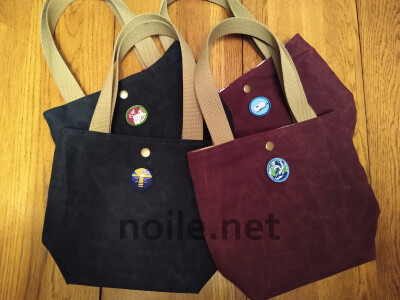
Mr. Noile had a favorite waxed canvas coat for a long time, and I bought a more rarefied waxed canvas coat myself a few years ago. I’d never sewn with the fabric, though, so making these bags was a new experience.

I’m not alone in loving the look of classic waxed canvas; it’s a bit like aged leather, without necessitating the murder of animals.
The basic pattern is from Taylor Tailor. It’s a free pattern on his website, meant to be used as a tote for a couple of wine bottles. Here’s a link to the first time I made it up, with a couple of notes on the pattern itself. The second time I made it up, I adapted the straps, and added a front pocket. This time I left off any pockets, and used cotton webbing for the straps — which was more in keeping with the organic sense of the waxed canvas than is my usual choice of nylon or poly webbing.
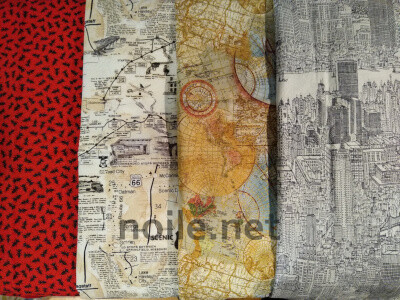
These versions were gifts for family members, so I chose linings more or less related to specific interests. From the left: ants (picnicking and/or just general amusement value); Route 66 (for the highway travelers); vintage world map (for the international traveler); a New York cityscape for the Manhattanites. (Options in cotton quilting these days are just amazing!)

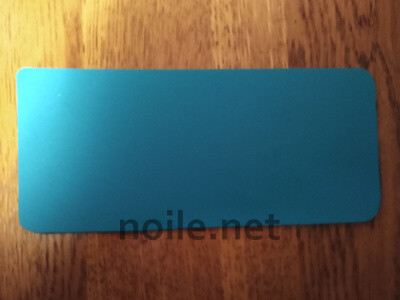
I added an overlay at the bottom of each bag which forms a pocket for a sturdy base. I find tote bags useful, but not when they are made of limp fabric — the droop just isn’t helpful if one is actually using the bag for anything slightly heavy or solid. I made the bases from IKEA cutting boards — the thin ones, which cut easily with (non-sewing!) scissors.
I’m not sure I’ve ever used an IKEA cutting board to cut anything, much less in the kitchen, but I keep a stash on hand, and am always reaching for them when sewing or crafting. Very handy! (Also, not for the first time, Hail Stash! IKEA isn’t where I want to be in a pandemic.)

I changed up the straps and inserted them between the lining and the outer fabric, only because I don’t particularly like the look of the straps applied to the outside. This is a bit of a cleaner look, I think, and also keeps those pesky ends out of the way. (I still stitched the ends, though, since nothing unravels like unfinished strapping of either kind.)
The waxed canvas required a heavy duty needle, of course, but I don’t remember if I used a 16 or an 18. The straps are triple-sewn, and there’s a light layer of fleece interfacing between the two fabrics for a bit of padding, just in case one of the recipients does want to transport bottles in the totes. I debated leaving the snaps off, but the brass looks so good on the canvas — and, if transporting bottles of whatever, the snaps will help keep the bottles separate and upright.

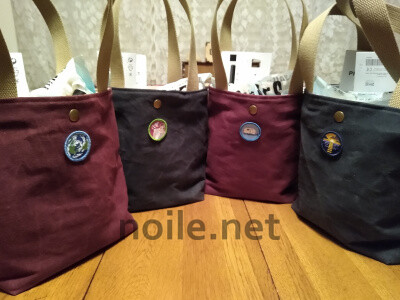
The patches are also calibrated to interests (and from my old standby, Demerit Wear): our specific planet under blue skies; DIY for the renovators; a travel trailer for the campers; a sunrise in Utah for the urbanites who explore canyons in the West. The brass snaps are KAM snaps, set with my fantastic DK98 (sooo happy I have the old-style press!). The snaps came from KAMsnaps, who sell a large variety of types and sizes, along with dies. (Though my old DK98 does require an adapter for some sizes of snap.)
The waxed canvas arrived in a tube with crushed edges (on the canvas, not the tube). That’s probably inevitable; any pressure on the canvas leaves the appearance of a crack. Turning the bags inside out had the same effect; crinkles everywhere! That’s to be expected, though — the worn appearance is meant to be part of the charm. Waving over it carefully with a hair dryer is likely to restore the appearance somewhat (if not completely), but given the nature of the material, and the inevitability of further crinkles in use, I didn’t bother, and expect neither will any of the recipients.)
I have no affiliation with any entity mentioned here, except as a paying customer. Links are just meant to be helpful!
