
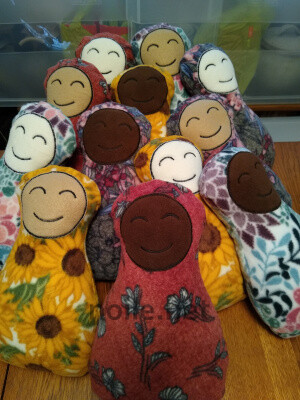
Once I had proof-of-concept for the body pattern for my weighted dolls, and (possibly even more importantly) proof-of concept (and proof of execution) for the faces, it was time to make the actual dolls.
The first step was to choose fleece for the external cover. This was more difficult than I expected.
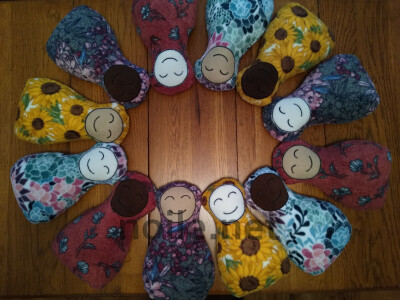
I was concerned with scale: I wanted the prints to be cheery and not obviously gendered; I wanted them to be varied; I didn’t want any super-large prints; and I didn’t want anything sports-related (personal bias, and also the sports/licensing prints were uniformly too large, and, dare I say, hideous?). Nonetheless, I managed to find four different patterns that suited.
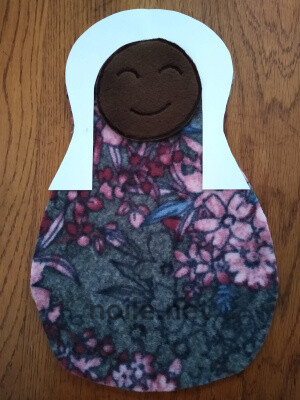
Once I’d cut out the external body pieces, I needed to attach the faces to the fronts. I didn’t want to have to painstakingly measure every time I placed a face on the exterior fabric, so I made a little template to use to set the faces. (It looks a little sphinx-like, doesn’t it?)
I used the same pattern for the covers as I’d used for the bodies, but took a smaller seam allowance, to allow for fitting it over the lining. Two of the fleece pieces were substantially thicker than the other two: The extra bulk made the seam allowances problematic for them. That’s something I’ll have to keep in mind if repeating this project.
The faces were then pinned at crucial points, and zigzagged into place, using a larger and wider stitch than for the “embroidery”. These stitches were also tied off and glued in place on the reverse side.
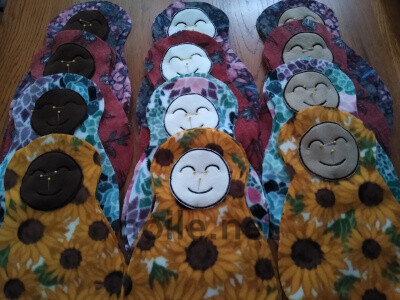
Flat dolls, un-stuffed, with faces pinned in place.
The opening on the exterior cover is on the bottom; it has to be wide enough to draw the cover over the body form, but it was also important that the exterior opening was opposite to the one used to fill the interior body. Opposing the hand-closed openings helps to reduce the possibility of bead spillage over time.
For safety and security, each seam was stitched three times: two straight stitched seams, a quarter inch apart, and a final zigzag seam running from the first seam to the edge. The dolls may get rough handling, and they need to be as sturdy as possible.
The bodies are filled with poly pellets, a choice I would try to avoid in the future. I may consider using a core of metal shot, with quilt stuffing filling the bodies out, however it seems unlikely that anything other than these beads will offer the kind of feel that suits this particular purpose.
I don’t have any real crafting experience, and it didn’t occur to me that I could use something other than poly beads — but, let’s face it, the world doesn’t need any more poly beads in it. (I’m not sure the world needs poly fleece, artificial quilt stuffing, or metal shot, either, but the one item in my dolls that could be most improved upon, environmentally speaking, is probably those beads.)
Weighted Dolls, Part Two: Faces
The inspiration for these dolls came from a French Pinterest post, which I found through a general image search for dolls. The inspiration dolls were marked as “unavailable”, but gave no source — one of many reasons to hate Pinterest (sorry, fellow makers). I very much ran with those images, by adding the weighted inner body, and changing the shape in several ways, including flattening the bottom. I’d love to give credit for the simple face and the bright prints to the person who inspired me — if anyone knows who that is, please contact me in the comments!