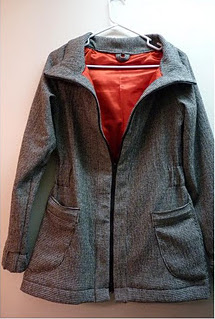
I’ve been dithering, seemingly forever, over what to do about exterior pockets on my Minoru jacket. I even wrote a blog post rounding up choices other sewists had made, in an effort to sort out what might work best for me. They were all good options, but I quickly decided that patch pockets were the answer. It took a lot longer to figure out what kind of patch pocket I wanted.
Andrea B’s pockets were the ones I kept remembering. I really like the way she incorporated the pockets into the side seams, and decided I wanted to do the same thing. I copied that feature, squared the corners, curved the top edges, and added cross-grain trim:
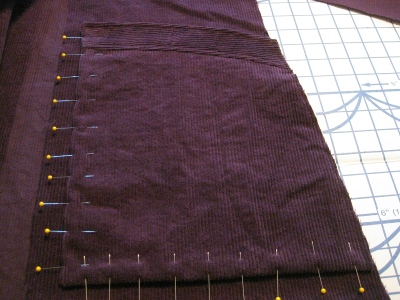
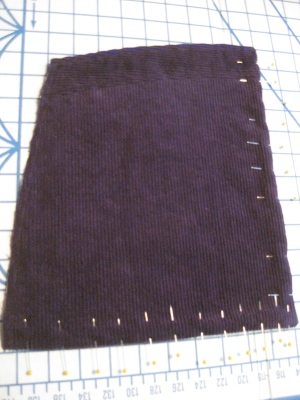 It’s difficult to see here, but the left side is curved to match the Minoru’s side seam. The right side will be parallel to the front placket on the jacket, about an inch and a half from the placket seam.
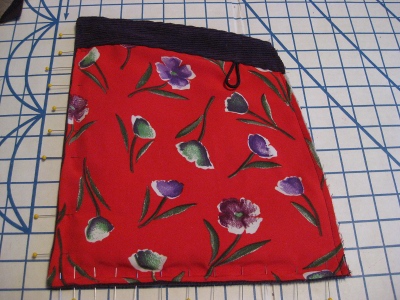
I always line my patch pockets, and interface them, too. Both steps increase their durability, and help with shape retention if you use pockets as avidly as I do. Instead of cutting the lining in one piece, I used the trim pattern to make a self-facing of corduroy — my main jacket fabric — which is not only nice to touch, but also adds to the stability of the pocket.
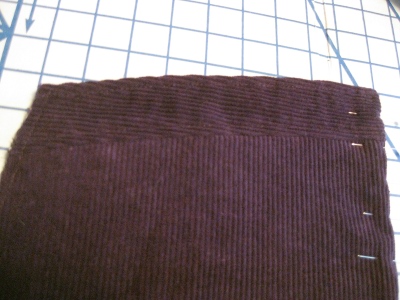
Here’s a closer view of the crosswise trim. Dark purple is nearly as hard on detail as is black, but you can probably get the gist:
(The raw edge — the one that goes into the jacket side seams — is on the right, here.)
Stitched together, these pockets are about 12 inches by 10.5 inches. They’re big, but that’s no accident! The Minoru pattern allows for far more ease than I needed in the hip area, so I don’t anticipate the size will be a problem for me, but hip ease is something I would have had to think about if the tolerances had been smaller.
There’s a loop inside each of the pockets. If my pockets don’t have a closure, I like to be able to clip things inside them, so that I don’t find that I’ve lost something when tossing the coat around. When I’m in New York, my MTA pass case will be clipped onto this loop, and the other one will be useful for keys or my pocket camera or whatever else.
Here’s the pocket set in place on the front of the jacket:
I still haven’t added the front plackets or, of course, or the zipper, and I won’t be able to tell how these work on the jacket as a whole until I can baste the side seams together, but, at the moment, I’m pretty pleased with the way they’ve turned out.
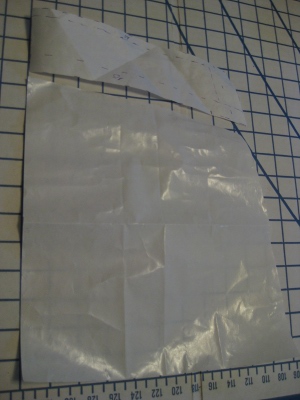
This is what the pattern pieces look like. (I did this on the fly; can you tell?) There’s a 5/8ths of an inch seam along the joint between the pocket and the trim, and another 5/8ths inch seam along the side that lines up with the sides of the jacket. Everywhere else, I used a 1/4 inch seam; I prefer this when making patch pockets, as it means I can turn them without having to trim anywhere except at the corners.
There’s one last structural dilemma to resolve before I can do the final assembly of the coat shell: how to handle the drawstring I want to add to the hood. I’ll probably never use it, but I’ve got both red elastic cord and purple toggles, so how can I resist? But that’s for another post.


I just went the easy route and put inseam pockets but your patch pockets look like they are a great option! I love the loop idea. Never would have thought of that.
Thanks, Louisa — we’ll see how the patch pockets work once they’re attached. The in-pocket loops are surprisingly useful; I put them into almost everything now that I’m used to using them.
Excellent choice! Your pocket looks great!
Thanks, Shams!