I’ve just finished a garment that needed a little enlivening, so I added some braid to spruce it up. (The garment in question will show up in the next post.) I had an accidentally too-wide expanse of black corduroy, and after considering several options, I used a basic embellishment technique taught by Kenneth King (*but not unique to him).
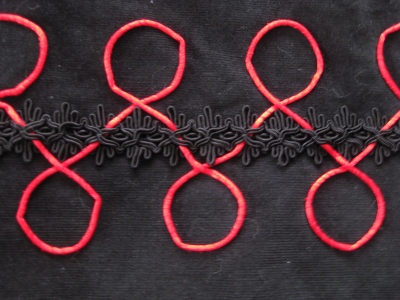
The embellishment is just a flat black braid over which I’ve looped red rattail. This is pretty pathetic embellishment compared to the exotic and extravagant designs Kenneth King turns out — what I’ve done would just be a base on which to build, if I were to embellish King-style. Sadly, I am not Kenneth King, and this stark example is Noile-style. Nonetheless, it has its uses.
I used the same method years ago; it’s a sensible, mathematical approach to the problem. If you’re doing completely free-hand embellishment, this isn’t useful, but if you want to repeat a pattern or duplicate the exact pattern on another part of the garment, this is a great way to do it.
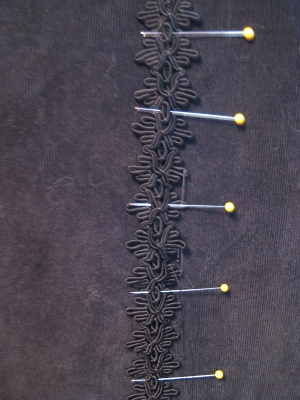
Here’s how I did it: First you take a piece of symmetrical braid, and tack it in place.
Loopy braid like this works best, but a solid braid works too — it will just be a little more tricky to figure out where you are. I did both sides of my garment at once, anchoring the wide braid in place (measuring carefully to make sure they’d be symmetrical).
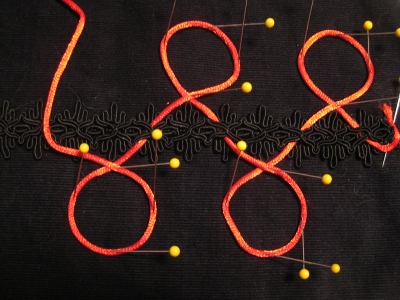
And then I wove the rattail through, and anchored the loops:
The repeat pattern on the braid lets you space the additional trim evenly — and makes it easy to repeat on another surface. If you’re using solid braid, you can weave the additional trim over and under evenly by counting motifs, or you can just do it the old-fashioned way and measure. But a nice, loopy, braid like this black one makes the whole process simpler and easier. (You can see the black braid a little better in the first and second images above. Black on black: Not so easily photographed.)
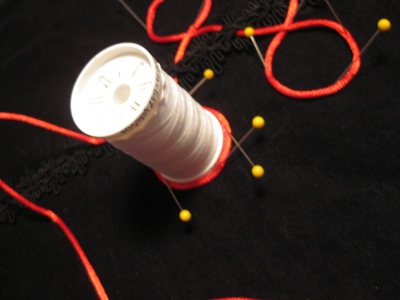
I used a medium-sized Gutterman thread spool to ensure uniform sizing for the loops:
 Then everything gets tacked down. I made this before I got my braiding foot, and, worse, added the embellishment after the garment was finished, so I did all this trim by hand. I’m afraid it’s all too obvious. If I’d had my braiding foot, I’d have finished in half the time, with a much more professional-looking result.
Speaking of a professional-looking result, don’t use rattail that’s been tightly wound around a small card for a project like this. You want rattail from a large spindle, without obvious creases. Mine came from the beading section, and I wasn’t able to do a thing about the obvious kinks dented into the cord by the tiny card it was wrapped around. What can I say? I was stash-busting and there was no way I was going to buy more red rattail, even if I could find it. Which I couldn’t — not locally, at least.
* Kenneth King IS unique, however, and if you ever get a chance to take a class, attend a lecture, or just drool over what he’s wearing from across the street, do it! His work is incredible, and he is marvelously witty and entertaining in person.


Love the way you used what we learned in his class!
Thanks, Connie! I have to admit that every time I look at it, I imagine what Kenneth King would have done! But, after all, I AM grocery shopping wearing this, and if that isn’t a reality check, I don’t know what is!
Nice! Yes, his stuff is incredible – I took classes from him over 20 years ago. None of it seemed to “stick”, though. 😉