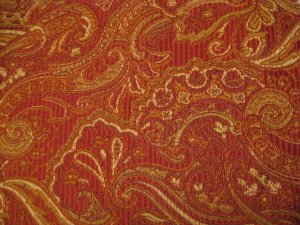
One of the gifts I received this holiday season was this beautiful brocade fabric, which Mr. Noile’s mother Trilby and I had spied earlier in the year at a favorite shop.
Trilby snuck back later and bought a piece for me. The rich burgundy, gold and rust colors aren’t my usual ones, but I’m planning to make some neutral linens this summer, and this should be a gorgeous accent for them.
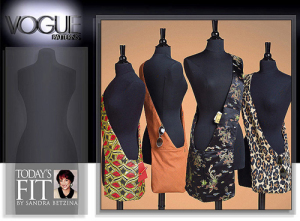
Trilby and I share a love of bags, and she had a tote in mind when she gave me the fabric, but somehow it was Vogue 7862 that I thought of when I was deciding what to do with it:
The bag’s design is a bit odd, and I thought it looked a little more like apparel than like a purse. I figured the brocade would enhance that feeling (and it did!). I hadn’t looked at any reviews, so I was surprised when I discovered that the pattern has only three pockets: one in each of the shoulder straps (like the ones in my Keen bag and knock-off: love those!), and a large one in the main body of the bag.
I had assumed that the large front pocket was actually two; there’s a vertical zipper that I’d figured somehow divided the main pocket. I’d also assumed that there was another full-sized pocket across the body of the bag. (Obviously, research wasn’t a big part of this project.)
Standing in an interminable line at JoAnn’s gave me a chance to read the pattern and realize how wrong I was. On the plus side, the wait was long enough that I was also able to figure out how out how I’d alter the pattern to better suit my needs.
Sandra Betzina claims that this is “the perfect travel purse”, but that’s only true if you don’t mind having everything you own fall out when you open the main zipper. Not my idea of good travel gear.
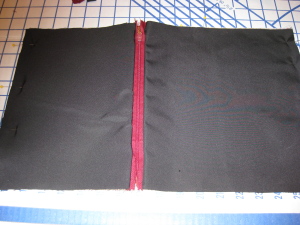
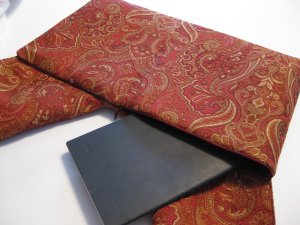
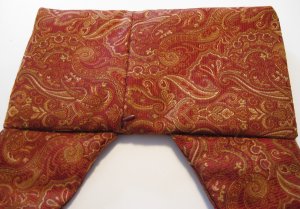
On the other hand, I really liked the look of that vertical line. To solve this vexing problem, I assembled the front pocket using Betzina’s design, but attached lining pieces to the backside of the front pocket along the zipper edges:
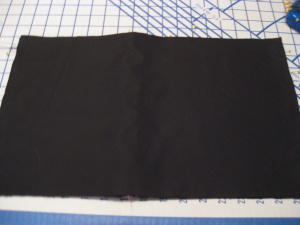
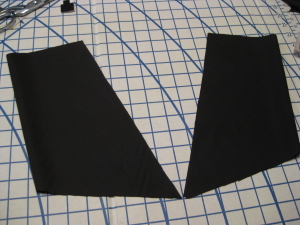
Then I added an extra lining piece behind the combined pieces:
Before I assembled the body of the bag, I added an invisible zipper across the back of the bag. When the front and back were sewn together, this gave me two pockets in the main body: One, with the vertical zipper in front, and one in back, with a horizontal zipper. I made a simple lining for the rear pocket, and attached it by hand to the zipper tape inside the bag.
This hidden rear pocket is a lot more practical, and much easier to use than the designer pocket in front.
If you wanted to add an internal zipper pocket for a wallet, this alteration would let you do that pretty easily — just add it to the back lining before stitching it in place. Getting into an internal, hidden zip pocket from that vertical front zipper would be a bit grueling, but would be easy through this wide opening in the back of the bag.
Invisible zippers and I have a tortured history, but I think I’m finally beginning to get the knack of installing them. I finally figured out that placing the zipper perfectly into the invisible zipper foot right at the start makes all the difference; the foot then automatically rolls the zipper teeth into the correct position for close stitching. (Yeah, I know — I’m a little slow.)
The “seam” appearance made by the invisible zippers really is perfect for this bag, and it doesn’t hurt that a print like this one hides a multitude of invisible zipper sins. I especially liked the one I used in the extra main pocket — at a quick glance, you’d never know the pocket is there at all.
Betzina has you interface the straps only to a point just into the hidden pockets. After I constructed the straps, I realized that the fragile threads on the wrong side of my brocade would disintegrate a little bit every time I took my phone or keys out of the unlined pockets. That meant that lining them was essential.
I cut two strap pocket lining pieces with one folded edge, stitched up the open side, and inserted them. Take my advice, and do this before you make the straps. Doing it afterward is something of a challenge. (At least I hadn’t edge-stitched before I added the lining — taking that out would have been a nightmare.)
Because my fabric was a fairly soft and fluid one, I used a heavier-than-usual interfacing. My thinking was that this would make the strap a bit more comfortable to wear by providing some unseen padding, and that worked out well. It did make turning the straps challenging, though, so I used a giant kilt pin (carefully pinned into a seam allowance) to pull the end through. Worked like a charm!
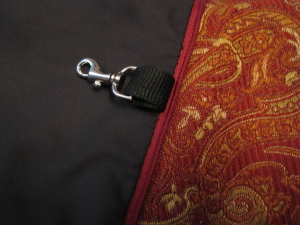
I decided that I didn’t want to take the time to design custom internal pockets for this bag, which is for special occasions rather than everyday use, but that left the problem of how to handle gear that I might want for a day trip into the city, for example. I solved this by attaching small snap hooks inside the main pocket:
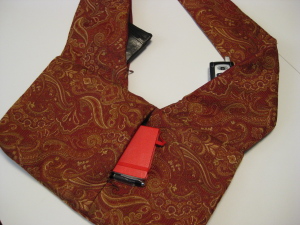
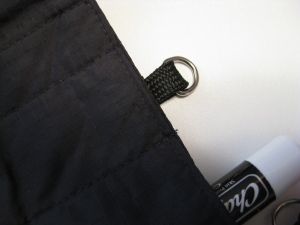
And then by adding tiny d-rings to my transferable pockets:
This worked out really well, and now I plan to use this trick with all my future “fashion” bags. I’m thinking that I’ll be able to make so many more if the internal pockets travel from one to another so easily — a girl just can’t make too many bags, don’t you think?
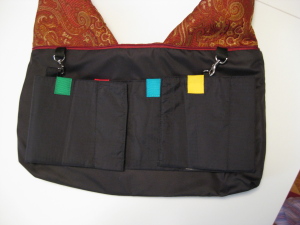
Here’s how the transferable pockets look clipped inside the bag (it’s turned inside out so that you can see it better):
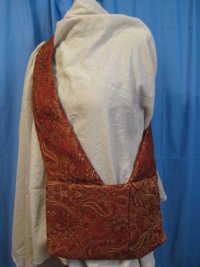
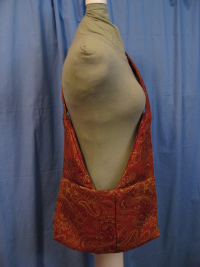
I made the petite version, which has a shorter strap and a slightly smaller body than the regular version, and really appreciated having this option. It fits my body well, and, as I suspected it would, this bag feels more like clothing than like a purse — a quality I’m really enjoying. To give you an idea of size, here it is on my un-draped, petite-dummy-torso:
This is quite a fun pattern, however, I’ve got to say that there is something particularly nervy about claiming a retail price of $16.95 USD for a pattern that involves only four pieces (three of them perfectly ordinary rectangles), and one small instruction sheet. There’s no real value add here, either, for, although Betzina mentions embellishing the bag (a fun idea), she doesn’t offer any suggestions for how to do it.
The envelope calls for a yard of 60 inch fabric, but I had almost exactly 3/4 of a yard of 56 inch fabric, and was able to fit all the pieces for the petite bag with no problem (but without an inch to spare). This won’t work if you’re cutting a fabric with nap, though; then you’ll need the full yard for the petite size.
Isn’t this the best kind of gift? It’s a present, and an adventure! Thanks, Trilby (and — forgive me — dear Mr. Trilby, too)!

I have an entirely different take on this pattern. I have now made three out of various fabrics and like the designer’s details without the fussiness. My first was for a daughter who rides the subway every day and needs something compact and un-approachable. My second and third have been for friends traveling abroad. The cross-shoulder strap is a safety precaution, padded to relieve the strain of carrying things. The zippers are all hideways,none on the external surface,although I do agree that the vertical zipper should close at the top. I have lined the whole bag for durability. It seems to me a work bag rather than a n ornamental one. I have made them out of fabrics that would not yell for attention in a crowded venue.
Interesting how different people can be about design.
Thanks for your comment, Susan — it’s so much fun to hear how people interpret the same projects differently! Ironically, it’s the utilitarian aspect of this bag that first appealed to me; I just thought it would be fun to make up a “utility” bag in a dressy fabric; I can see why you love it as a travel bag.
Thanks, Melissa! I don’t know about deserving more credit than Sandra Betzina (blush!), but it was so cool to add some practical engineering to her great style. It always surprises me when casual designer patterns aren’t very practical, and it’s such a treat to take a neat design and make it more workable in real life. Inspiration — that’s what makes sewing so much fun, isn’t it?
What a fabulous bag you’ve made from this pattern! Honestly, I think you deserve more credit than Sandra Betzina here!