
One of my dreams is to manage day trips without carrying any kind of bag, yet also without leaving any essential (or desirable) accessory behind while out exploring. I’ve been planning a vest-with-hidden pockets for a long time in my head, and recently I spent an evening working up a ‘muslin’.
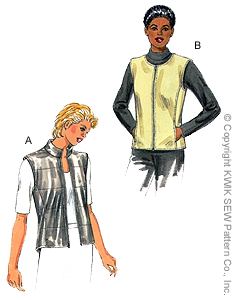
This Kwik Sew pattern was my starting point. I have a few vest patterns that are designed with lots of pockets, but I really wanted something with more shape. This one had the lines I wanted, although, in retrospect, how much shape can you have when you’ve got a dozen pieces of equipment hanging off your torso? I definitely wanted hidden pockets so that everything would be stowed out of sight on subways or when in crowds, and a clean, simple look on the outside.
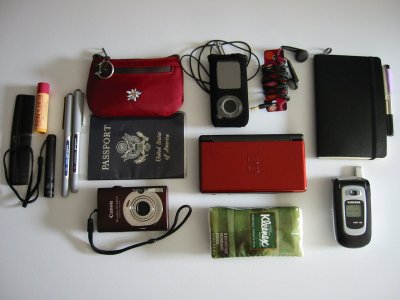
I started by gathering together all the things I wanted to fit into the vest. Here’s the list: wallet, passport, keys, cell phone, digital camera, Moleskine notebook, MP3 player, earplugs, Nintendo DS (Spanish vocabulary and sudoku), comb, chapstick, pen, small flashlight, and a few miscellaneous items.
This vest has three main pattern pieces: front, side, and back. I made outline drawings of the front and side pieces, and played around with pocket placement on paper. Once I thought I’d come up with a good layout, I got to work on the engineering. First decision: I’d leave the pockets on the original pattern alone, so that I’d have two conventional pockets in the front of the vest.
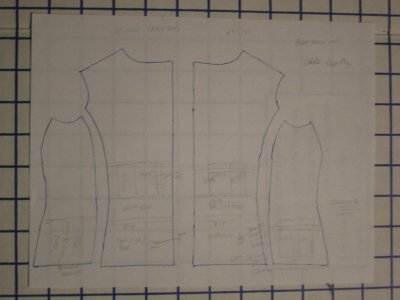
For the internal pockets, I measured each of my belongings, and decided how I wanted the bulk and weight distributed. The Nintendo went near the hem; cell phone and camera (both light and small) went at the top of the pockets, just under my breasts. Middle weight items (wallet, notebook) went in the middle pockets.
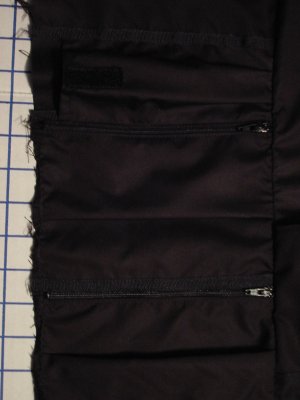
Here’s one side, before assembly. The top pocket is for the camera or cell phone, the middle for wallet or Moleskine, and the bottom for the Nintendo or something of similar size and bulk.
The cell phone and camera pockets are horizontal, rather than vertical. That’s partly because I’m female, and my bust gets in the way, but it’s also because those two things are the ones I want to grab fast. Those pockets are also the only open ones; they close with velcro tabs, also so that I can get to the phone and camera quickly.
The four main pockets all close with lightweight zippers. The comb, pen and small accessories pockets (including the MP3 pocket) are fairly deep, but open at the top. They’re somewhat protected, buried as they are far from the vest opening. Except for the comb and pen pockets, each pocket has a pleat to make it roomy enough for the 3D stuff I want to carry.
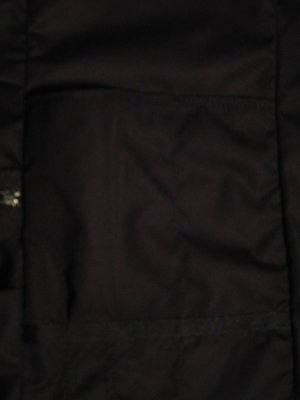
Yeah, I know. Great detail shots, eh? If you could see this, you’d be looking at the MP3 player pocket and a pocket next to it for earplugs.
Using the vest pattern pieces as a guide, I cut the pockets so that they would catch in the vest seams. Because I didn’t want to customize the pockets for each piece of equipment (next year the sizes may change), I made larger pockets with pleats in them for ease. This kept bulk down nicely, and also meant that I didn’t have to go to the trouble of fitting each item perfectly.
To stabilize the vest, and keep it from drooping when fully loaded, I sewed strips of 1/4 inch grosgrain ribbon at strategic points, running from one vertical seam to another. Those with sharp eyes may be able to spot some of these.
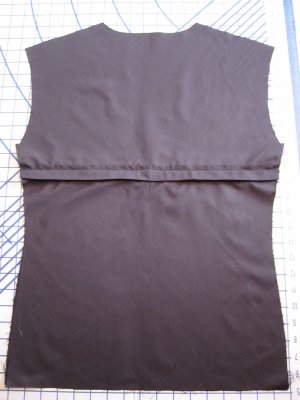
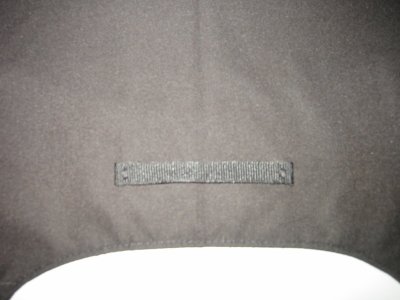
At first, I didn’t think I wanted a pocket across the back, but in the end, I changed my mind and did add a flat pocket on the back panel only. I figured that I might want someplace to stash gloves or a small hat or something of the sort. The zipper is under the flap you can barely see above.
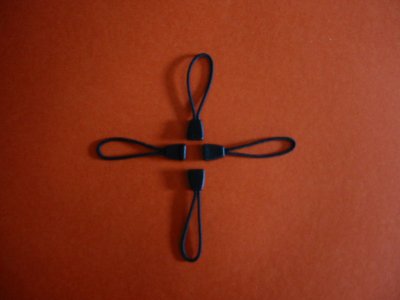
I made the front of the vest exactly as Kwik Sew intended, with one little exception. I like being able to attach keys, and sometimes a subway pass, etc. to my body, so I sewed a snap tab into each front pocket. Here’s a picture of the ‘hardware’ I considered using:
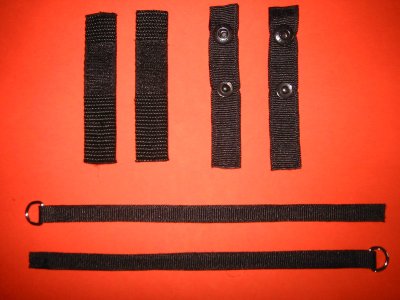
I decided against adding the D rings; if I want to, I can add a D ring to one of the snap tabs. The velcro tabs (upper left) are for the phone and camera pockets. Incidentally, I made a mistake with those: I should have used the soft velcro for the tabs, and the stiff part on the pocket. I’ll have to be careful about scratching the phone or the camera when pulling them out past the tab. The snaps are mini anorak snaps from Dritz, attached to a double layer of grosgrain ribbon.
I also added a bit of grosgrain on the inside so that the vest can be hung on a hook — almost a necessity, I think, for coats and the like.
The vest made up surprisingly easily and quickly. The fabric is a silky polyester, possibly a microfiber, that I got when my mother-in-law and I took a fabulous trip to Field’s Fabrics recently. I used a Schmetz microtex needle.
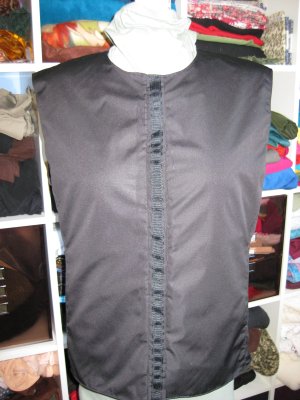
However, something about the zipper wasn’t quite right; it looked as if the tape actually stretched a bit in places — quite a disaster. Even though this is supposed to be a muslin, I took it out and replaced it with velcro fasteners and a band with a decorative grosgrain strip. Not my finest hour. Sigh.
What does it weigh, fully packed? I’m glad you asked: 3 pounds. Feels like about ten! But, hey, it’s all hands-free.
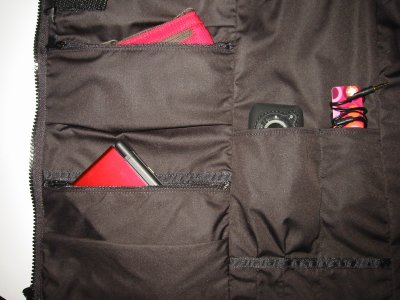
Here’s the finished inside right:
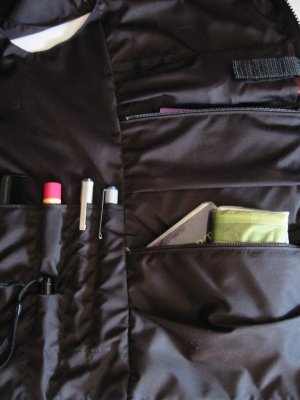
And here’s the inside left:
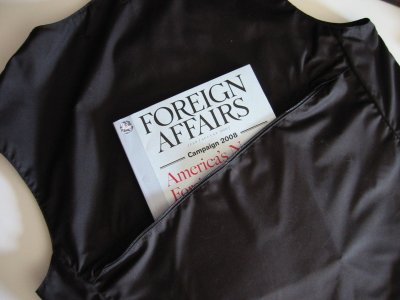
The back pocket is big enough for a hat, gloves, and a fat copy of Foreign Affairs:
Now all I need is a guide to remind me of what goes in which pocket.
I love this idea! So the pictures above are the lining? Did you use fleece for the exterior? I would love to try one of these, although I believe the pattern is out of print, I may be able to get it on ebay.
Joy, the pictures are of the vest made in a lightweight poly or nylon (I can’t remember which). It probably would look a lot better made in fleece, corduroy, or even something like denim, but I went for the lightest weight fabric possible.
Thanks for sharing the details of how the vest was constructed. I am about to make a travel vest and found your comments helpful. You might want to consider a separating zipper for your next vest. I think it would look good (just remember to interface the back side of the material where the zipper will go to avoid puckering.)
I’m glad my post was helpful, Marsha. Yes, I think you’re right, and a zipper would have been a better choice for this vest. I may add one after all; I think it would be a significant improvement.
Kathleen, how funny! Technical writing, actually, but born of generations of engineers — do you think it shows?! Love your comment!
Yes, I have, Kris, and I’m really happy with the way it actually works. It’s extremely comfortable to wear; somehow having all the pockets distributes the weight of my gear very well and it’s much more comfortable to wear the vest than to carry a purse or bag.
However, I’m not really thrilled with the velcro closing, so I’m planning to make another version this summer. I’m still dreaming of a travel vest that will look good as well as work beautifully!
So what do you do for a living? By all appearances, you could have a go at product design…:)
Very useful! Have you tried this out yet?