I’ve been meaning to make a boarding pass case for me and one for Mr. Noile for quite a while. Now that both our passports have RFID chips, I decided the time had come.
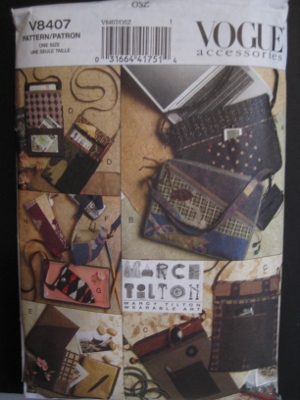
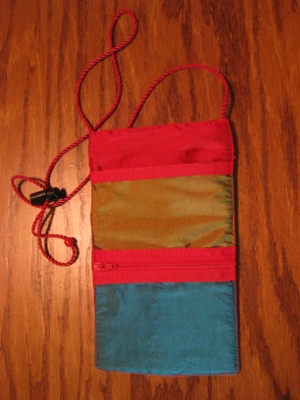
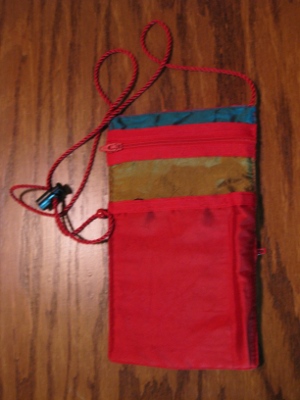
There’s really nothing to drafting one of these things; it’s essentially a set of pockets on a string. I had this pattern in my stash from years ago, though, so I started with it. Then I changed it up as needed for my own requirements. Here is side 1:
(Bad photo: The case is squared properly, honest!) I used dupioni silk to keep the case as light as possible. My boarding pass cases go through TSA in the same clear plastic bag as my personal electronics, so I used the brightest colors possible to ensure that I can track the packet easily as it goes through the screening process.
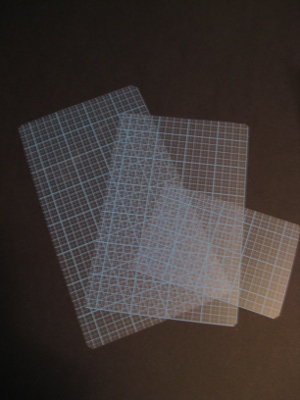
The pattern called for cardboard as a interior reinforcement, but that strikes me as really unwise, since there’s nothing much worse than rotting cardboard inside anything one depends on for travel, and getting wet sometimes happens. Instead, I cut support pieces from the thinnest quilting template plastic I could find, then rounded the corners slightly so that they would not cut through the silk.
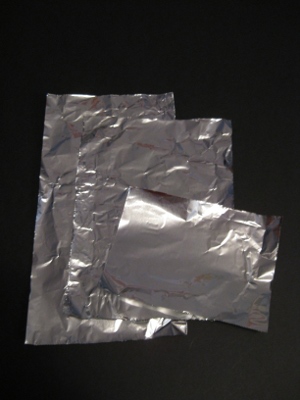
Because RFID chips broadcast to anyone with a reader — that would be anyone who’s interested, not just your friendly snoopy government — I wrapped foil around the templates. Aluminium blocks the radio frequency. Commercial pass cases are available that theoretically have the same protections, but tend to be bulky, heavy, and expensive. Here’s a snippet from CNN describing the effect:
Wrapping your passport in aluminum foil actually works. It is called a “Faraday Cage,” and it’s the same thing that protects you from the microwaves as you watch your popcorn pop. The foil blocks electromagnetic waves so a nearby chip reader can’t force your passport chip to perk up and say “howdy.”
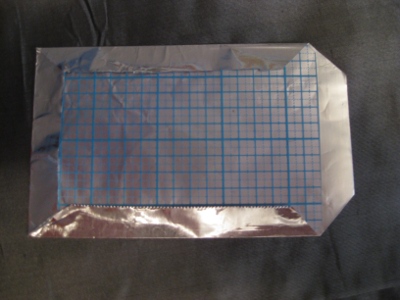
Accordingly, I cut heavy-duty aluminium foil to size
and wrapped the templates. I lined all of the pockets with foil, since many credit cards now also come chipped, which makes them vulnerable to remote ID theft, too.
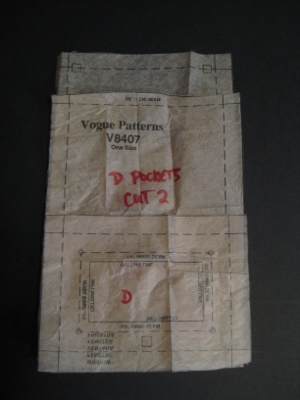
This pattern is another one of Vogue’s failures: There are lots and lots of small rectangular pattern pieces which Vogue (or whomever) has avoided labeling, even though there is plenty of space to do so. I transferred the information, but, come on, that was a pain, and why was it even necessary?
Really, Vogue? You couldn’t be bothered?
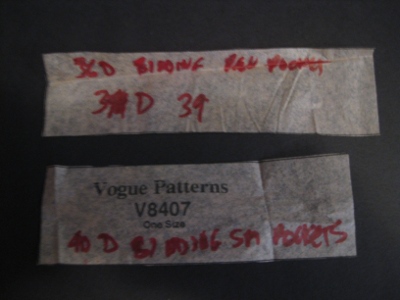
The pocket edges are meant to be bound; here are two very unhelpful pattern pieces for the binding, which, bizarrely, don’t even have the pattern piece numbers printed on them. That information is on the swath of otherwise blank tissue paper proximate to these pieces.
Instead of binding the edges, which would have been a huge pain in the silk, I ended up reinforcing the pocket tops with narrow grosgrain ribbon. We’ll see how that holds up.
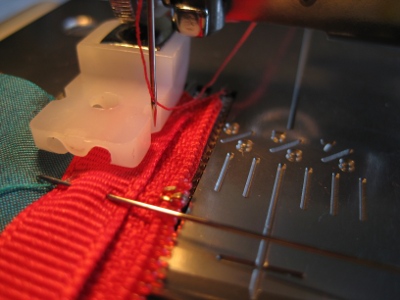
This project was sewn on my vintage travel machine: a Kenmore 1030. That’s the zipper foot above, doing double duty as an edge stitcher. I hadn’t sewn on this machine in a while, and was reminded all over again what a excellent little powerhorse it is.
The pattern calls for an around-the-neck ribbon. That’s cute, but a lousy idea for something worn while travelling, and the instructions didn’t provide for any length adjustment, which might matter depending on how, and over what, you wear the case. 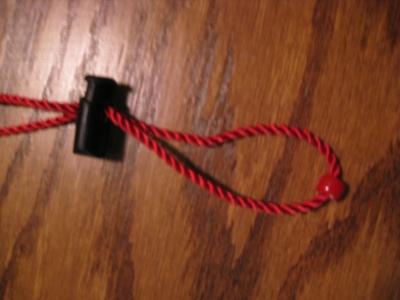
I used round cord — nicer against the neck — and added a cord-lock so that I could control the length. I strung a bead — a really ugly plastic bead! — onto the cord to keep the toggle from sliding off the end.
Most, if not all, of the pockets in the pattern are open. That’s not a very good idea, either, in my opinion. I prefer to ensure that crucial documents and cards — not to mention currency — are locked down, so I added zippers to two pockets, and hook-and-loop fasteners to a third.
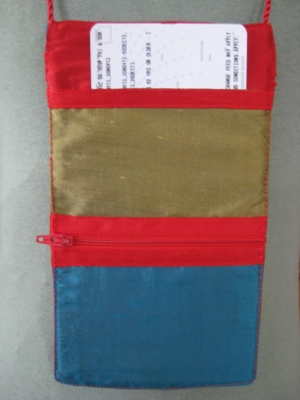
Above is side 2. The shadows on the red pocket are dips in light caused by two sew-on hook-and-loop fasteners inside the pocket. The ridge on the right is a pen sleeve; that’s a nice touch. I’ll keep a small notebook or a few index cards in the pocket next to it, since the ability to jot a note is a fine one to exploit when on the run.
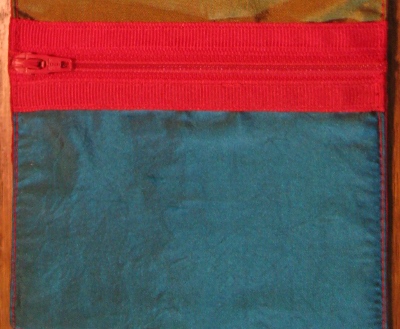
I did leave one large pocket open on side 1 for quick access to a boarding pass. And I made one other change: The lower front pocket on this side — the bright blue one here — is meant to have a clear window into which you can pop your ID.
Since the whole world doesn’t need to know who I am, or where I’m from, or what my address is, and since I travel on a passport rather than with a driving license, I made this pocket opaque. And I added a zipper, so that anything in it can be safely contained. I stitched grosgrain ribbon along the zipper edges for support, and for a cleaner-looking finish.
Since this project is essentially just stacked rectangles, it would be an easy one to draft yourself, and not much more trouble than figuring out where Vogue has hidden the many unlabelled pattern pieces on the tissue. That’s the route I’d have taken if I hadn’t already owned the pattern.
All that’s required is to figure out what pockets you want, stitch them to each backing piece (front and back), put the right sides together, add a neck string, stitch around the main pieces, turn and close up the opening. As I wasn’t much of a fan of the instructions in general (cardboard support, ribbon neck tape, open pockets, failure to label pattern pieces) I’d give this pattern the rare “D” grade — barely passing.

I have this pattern too, and I totally agree, the labeling on this pattern sucks. I went through the pattern and re-labeled everything so that I would have a clue what goes where. It is a very confusing pattern, which is ridiculous considering it is just squares and rectangles. Having said all that, I still haven’t made this up. I think I got too annoyed at having to do so much prep work.
I love your idea of using aluminum lining, one can’t be too careful nowadays. Your idea of making it in bright colours is brilliant too. Love this. I think I may be inspired enough to make myself one. Finally.
Yeah, Elle C, Vogue really dropped the ball on this one. I can see why you quit — it was more of a pain to label the pattern pieces than to make the silly thing itself!
Wonderful case. I like your modifications. I especially like the lightweight factor. Will try for the next trip.
Thanks, Annette. It goes together quicky; I think you’ll be pleased!