
We sometimes feel the need for sturdier pillowcases when knocking about the house.
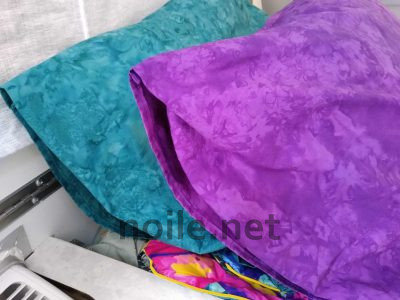
Photo of a turquoise and a purple enclosed pillowcases,
showing a shallow hem at the back, and the fold
in the front which covers the pillow completely.
We quickly discovered that life would be less complicated if these more durable versions encased the pillows. And we thought we´d like them to be bright colors.
Pillow shams make a neater, tidier, look, and seem a little more like a deliberate decorative choice than open pillowcases could.
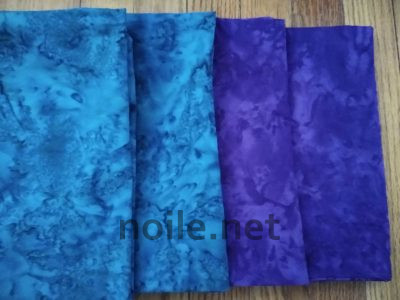
Photo of four folded cotton pillowcases. Two on the left are
turquoise, and on the right are two purple.
The plans I used produce a very sham-like pillowcase, without the expense of actual shams, and the cases themselves sew up very quickly, using French seams, which leave a nice, clean interior.
The only agonizing part of this project is marking the fabric — your mileage may vary, this is my personal opinion! — since it requires laying out a couple of yards of fabric and drawing the cutting lines.
My shams were laid out on 45 inch wide fabric. I made sure the cut edge was straight, and then marked off two rectangles 21.25 inches wide along the short, cut, edge. You´ll need just under 2 yards or just over 1.8 meters of 45 inch (114 cm) width fabric.
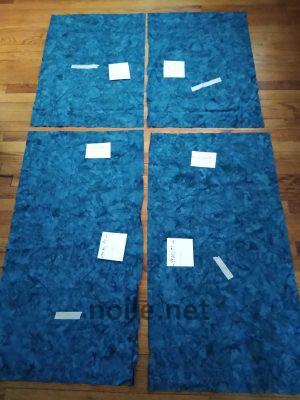
Photo of four pieces of fabric, cut to make two pillowcases.
Pieces of masking tape mark the wrong side of the fabric;
white cards on top note the dimensions.
Then, along the length of the fabric, I drew two rectangles 39.75 inches (101 cm) long, measured against the previous width lines. This gave me two front covers, 21.25 (54 cm)inches by 39.75 (101 cm), including a length that would get folded under to enclose each pillow.
Lastly, I drew two 31 inch (79 cm) rectangles, also along the length of the yardage, marking off two more rectangles, 21.25 inches (54 cm) by 31 inches (79 cm). These are the back of the cases.
Assembly order:
1. Hem one short end of each piece. I folded one quarter inch (.6 cm) raw edge under, then folded that edge over .4 inch (1 cm) again, and stitched. These shams are a quick-and-dirty version, but if yours are fancy, you might want to make this hem deeper, for a more luxurious look. (Yeah, I know — mixed metric/imperial measurements. Works for me. Go ahead and alter these slightly, as you wish. A slight variation, using your preferred scale, won´t hurt anything.)
2. Place one shorter piece of fabric on top of one longer piece, wrong sides together, right sides out, aligning the three unfinished edges of each piece.
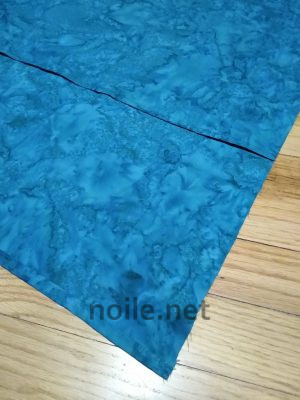
Photo of an unstitched pillowcase laid out prior to sewing.
3. Take the finished edge of the longer piece and tuck it between the aligned pieces of fabric. Align the folded edge of this flap with the hemmed edge of the shorter piece. This creates the pocket which closes the sham when it is finished. The right side of the newly-created flap is now showing on top of the wrong side of the long fabric piece.
4. Stitch around the three non-flap sides of the pillow case. I used a quarter inch (.6 cm) seam allowance.
5. Turn the pillow case, and enclose the raw seams by stitching the same, non-flap, three edges of the sham. I used a .4 inch (1 cm) for this step.
6. Turn the pillow case a final time. It´s finished!
A slightly fancier version is here, on Noile: Pillowcase Sham, Fungi Edition, with a deeper hem.