The path to my doll’s faces was not a simple one, but in the end I found some kind of resolution.
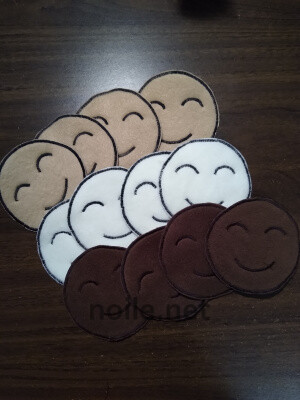
The machine I intended to use to make them ended up in repair — specialist repair, far away — and, in any case, I hadn’t been very confident that I’d be able to produce anything acceptable without any previous experience with machine embroidery or a dedicated embroidery machine.
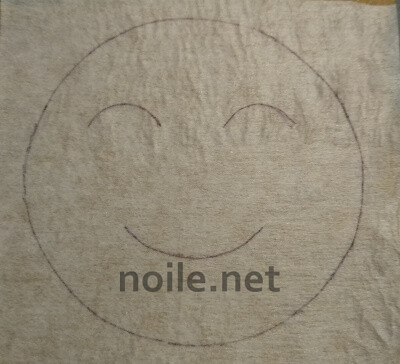
I started with a rough sketch, with the basic idea that the faces should be welcoming and friendly. And really, really elementary, in case I had to make them myself! In the end, I essentially used the face in the inspiration image I found on French Pinterest.
I wanted to find a way to have the faces made commercially, but that was a rough go. Several people in my area have cottage industry, at-home, embroidery services, but they had terrible reviews, which included failure to deliver the product, so they were out. I trotted my sample sketches around locally, but more professional embroidery services had Covid-related supply issues, backing up their orders and, in any case, were set up only to embroider directly onto clothing — which wasn’t going to work.
In the Before Times, I would have hopped on a train to New York City, and pleaded my case in person at Jonathon Embroidery, or a similar place, in the fashion district. But these aren’t the Before Times, and I haven’t been on a train for nearly two years, so that wasn’t an option, either. (I want to give special thanks to Ann, of Gorgeous Fabrics: In a moment of desperation, I sent a — possibly quite outrageous — query to her, and she responded — in the midst of all kinds of extraordinary demands on her time — most graciously!)
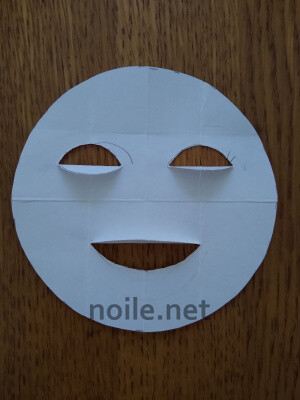
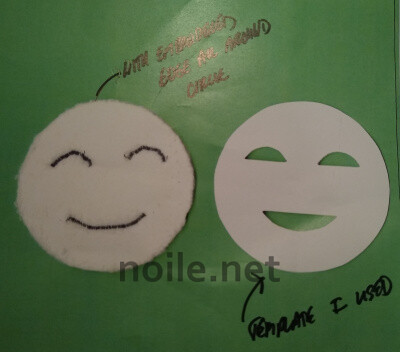
I was truly on my own. I ironed-on interfacing to the reverse side of the fleece fabrics I used for the faces, which both gave me support for my “embroidery” and a smooth surface to draw upon. Riffing off my sketch, I made a template, and placed it on the reverse of the face fabrics. Using a waterproof sketching pen, I traced the circle, mouth and eyes onto the interfacing.
Then I zigzagged around the circles and the mouth and eye lines, using my Bernina’s embroidery foot, which has a channel to allow the feed dogs to move the bulky thread line past the foot efficiently.
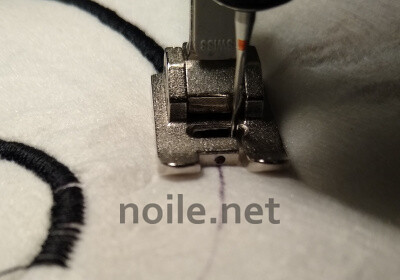
It turns out that this particular foot also has an incredibly helpful dot right in the center, which meant that, instead of estimating that I was stitching right in the middle, all I had to do is trace exactly right along the lines I’d drawn.
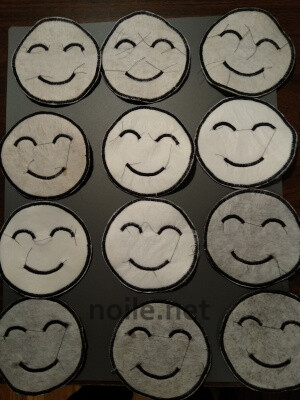
Once the faces were all done and cut out, I knotted all the ends on the back side, and applied fray check — a thread-locking, waterproof glue — to each terminal point. I wanted to make sure that my amateur stitching didn’t unravel over time. Guterman thread is my staple — my Bernina isn’t picky, but my Pfaff loves it — and I just used standard, all-purpose, black, here. I’m still a little sad that the faces (and the defining edge around them) aren’t stitched in glossy embroidery thread, but they still should serve the purpose.
Then it was on to the exterior cover . . .
