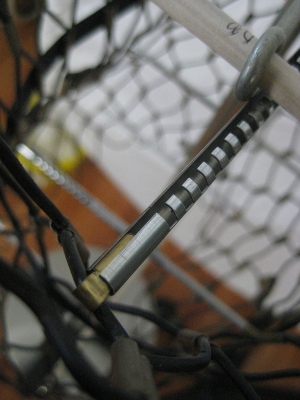
A commenter left a tip for me, so I was able to buy an incomplete set of fitting rods for Miss Bedelia (thanks, Janice!). Once I saw them I was able to figure out how to make replacement rods of my own. The original rods are in two pieces, and slide to adjust.
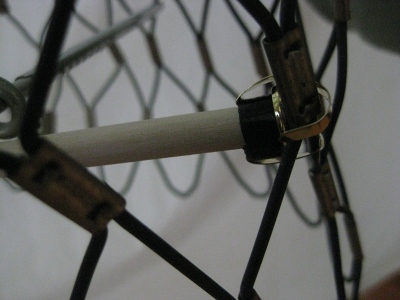
There’s a little button that fits into a slot, once the right size is reached. Inside each end is a brass-colored tab of soft metal (likely brass, in fact) that secures each rod end onto part of the dress form. You can probably just make it out in the image above. (I forgot to take a picture of the rods before I used them.)
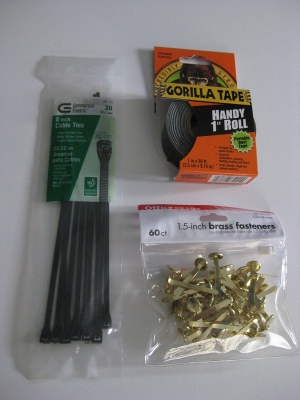
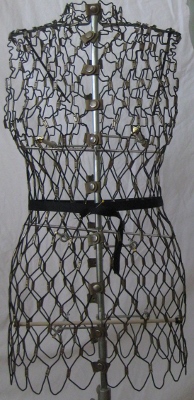
I made mine of 3/8th of an inch wooden dowels, large brass fasteners from an office supply store, and tape. (I used the cable ties to hold the top of the frame to the shoulder rod.) After fitting the dress form to my body, I ran the dowels through the areas where the supporting rods belonged, per the instruction booklet. I then cut each dowel just short of that length, and capped one end with a brass fastener.
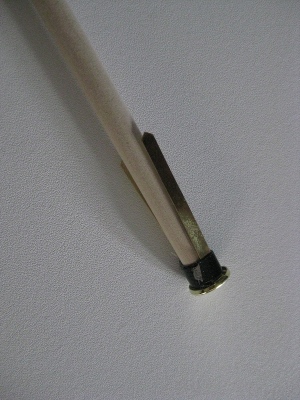
Keeping the “legs” of the fastener along the dowel, I taped just under the fastener’s cap, attaching it to the dowel. I used two pieces of tape, for extra security, and then ran the dowel through the dummy. (Most rods must go through an eye bolt; the dowel is small enough to do that, but the brass fasteners are not.)
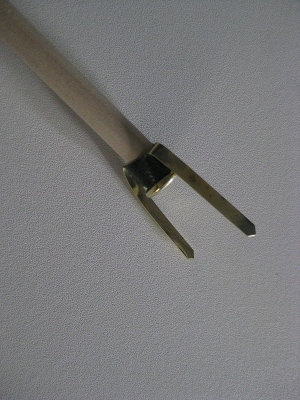
Then I attached another fastener to the other end of the rod, pushed it back into place, folded the ends of the fastener up, and wrapped them around the My Double shell. Voilà!
Replacement rods for the My Double forms are hard to find, and, typically, expensive. Rods are essential, though, and keep the dress form surprisingly stable.
Do remember to move or turn your dress form using the long vertical center rod — turn it by reaching into the neck — because the mesh will deform in unsupported areas if you aren’t careful.
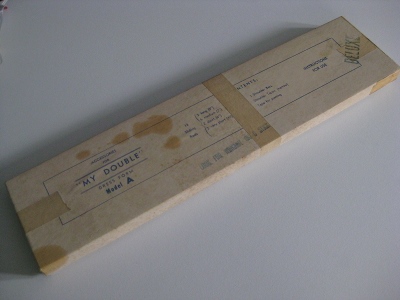
My rods came in this charming box. (It’s rubber-stamped with the name of the person who did the quality inspection — back in the days when people, not numbers, checked things over before they were sold.) I’m happy to have it, but I’m even happier that I won’t be paying a fortune for the rest of the rods I wanted.
Total cost for my supplies? Less than seven dollars, including the brand new roll of tape.
Related:
“My Double” Instruction Booklet

Thank you so much. I had one of these in the garage- now I can use it!!!
That’s terrific, Laurie . . . another My Double given new life! Enjoy!
Wow, this is amazing. I just bought one of the forms TODAY at an antique store hoping to find more rods (only one came with the form). Found these directions by google. I am ready to hop in my car to buy the doweling…this is a great inventive fix. Way to go! Thanks a million!
You’re very welcome, B Livingston! Hope you and your dress form enjoy many productive years together.
What an amazing bit of engineering! Good on ya!
These problems are the best, Elaray! Almost as good as sewing itself.
What an ingenious solution! You have me looking for one of these, even though I already have 3 dress forms (paper tape, vintage junior which is still way too big in the shoulders and has no butt, and vintage way-too-busty for me from a friend’s ex’s grandmother’s attic).