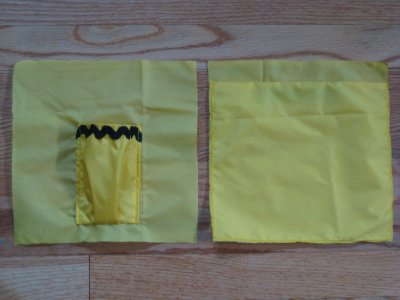
Here’s how the lining gets assembled for the Diva Essential Designer Bag. First you put together the pockets that will line the front and back of the bag. If you want to jazz them up, this is the time — I added jumbo rickrack to the tops edges so that I could find the pockets easily in the bag, and so that the lining wouldn’t be so boring.
The one above with rickrack is for a cell phone, and the one you can’t really see (on the left here) is a “secret” pocket to stash your wallet or cash in. It normally won’t be very visible, although the many layers of my chrome yellow fabric got very, very dark once they were stacked on top of each other. Anybody who gets this far into my bag is going to know that there’s something funny about that end of the bag. That’s not likely to happen, though, since the zipper opens from the other end.
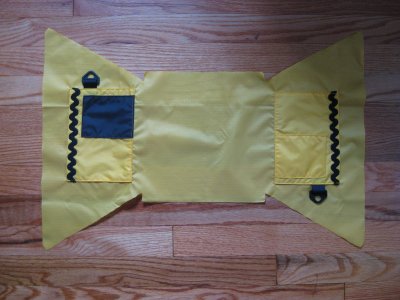
Then you make the pockets that are attached to the sides of the interior lining. There are two medium-sized pockets on each side, each of them with a small pocket sewn onto it. One of the small pockets is cut in contrast (or, if you prefer, you could do both that way. Here’s how these pockets look sewn in to the lining:
I added D rings to the sides of each pocket, ’cause I just can’t live without my D rings. They’re attached to short pieces of one-inch black webbing, and tucked into the side seams.
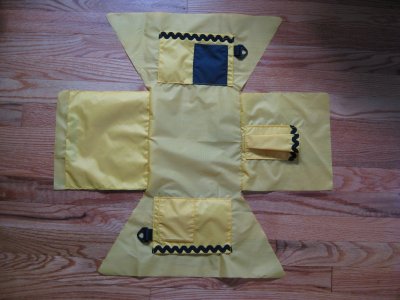
Here’s the lining with the front and back pieces attached:
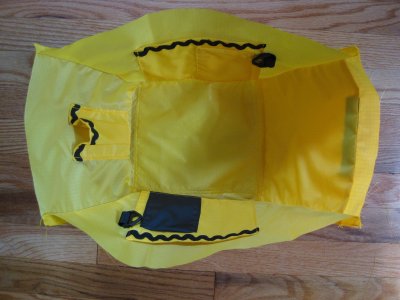
Once that’s done, you sew up the sides, and the interior of your bag is virtually finished:
For the most part, each pattern piece is sensibly named, but there’s one piece called “zipper remnant pocket”. The name drove me nuts. There is a zipper remnant — part of the zipper that you cut off after you sew the zipper in place. But it doesn’t have a pocket.
Eventually, I realized that two small pockets that get sewn onto the medium-sized lining pockets were cut from a strip of fabric that was also used to make the strips the zipper is sewn to: hence, the small pockets are “zipper remnant pockets”. This is possibly the world’s dumbest name for a pattern piece. Do yourself a favor and cross out the phrase everywhere you see it, and write “small inner pockets”. You’ll be happy you did.
That’s an odd mistake, though, because the directions for this bag are otherwise really beautifully written. Each step is broken down into a tidy, bite-sized piece, and there are helpful photos for places that might give you a little trouble. The order of assembly is well-thought-out, too — I loved doing the lining first because the outside of the bag is actually less complicated, and went much faster. As soon as it was done, it was pop in the lining, and viola!
The potential capacity is huge, but as we’ll see, that’s not quite how it works in practice. Next: the exterior.


