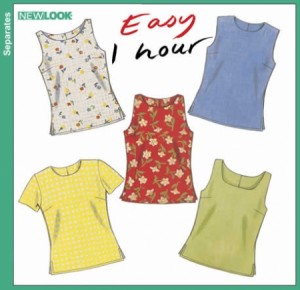
After my Pfaff went into the repair shop, I had to revise my Mini-Wardrobe Contest plans. I’m considering substituting this top for a knit one that requires the precision of my absent machine. I’d made this tank recently, and planned to make a reversible version for my next ‘wardrobe’. Once I lost my Pfaff, the reversible version stepped into the line-up. Technically, this one is a muslin — it’s the dry run for the ‘real’ top for my next series of garments. But, as it happens, it’s now also in the running for garment number two for this month’s PR Mini-Wardrobe Contest.
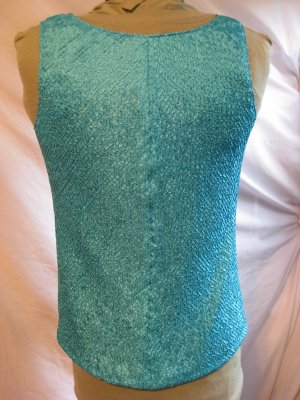
The previous tank wasn’t reversible (or lined), and I’d made some changes to the original pattern. I’d removed the center back seam and added a retro-style side zipper. For this new version, I reinstated the center back seam and eliminated both the zipper and the small vents at the hem. The zipper wasn’t needed (and might have weighed down such a filmy fabric), and the vents would have just been lost in all the puffiness of the latest fabric. And, of course, I eliminated the facings, since I was essentially making a fully lined tank.
Though this is not a stretch fabric, there was more than enough give to allow me to get in and out of the tank without any additional opening. This time, I used directions from a Sew News tutorial called On The Double as my guide. They were quite helpful, though you do have to think ahead a little bit — the tutorial really only covers the reversible stuff; it’s important that you remember details like darts, and that you sew them up before getting on with the reversing bits.
I used a crushed poly fabric for both sides — it’s quite expensive at JoAnn stores (bizarrely, about $15 a yard) , but I picked up these pieces at a discount store for under three dollars a yard. The thermal crushing process makes the fabric quite springy, so there’s a lot more give in it than there was in the tightly woven cotton I’d used for the first tank.
In order to make this garment reversible, you make two separate tanks. Instead of interfacing only one tank (or, rather, only one side of the garment), I used the lightest sew-in interfacing I could find, and interfaced both tanks. This seemed especially important because serious pressing wasn’t really an option — unless I wanted flattened sections of fabric wherever I’d used my iron.
After trimming the interfacing at the neckline and armholes, I serged those seam allowances to 1/4 inch. I finished the back and side seams by serging the outer edges, but did not trim them, as I wanted them to lie flat without a telltale serge ‘rim’. To keep everything in place, I tacked the back and side seam allowances together inside the garment. This only took a few minutes, but the extra effort paid off in terms of keeping the layers from shifting.
I edge-stitched the neckline and the armholes for the same reason. As much as possible, I wanted to avoid any hint of the contrasting color when wearing the tank. I’m not sure I succeeded perfectly; the puffy texture is a bit obvious around the curved edges.
Reversible garments like this one tend to work best if the colors are similar on both sides; a great way to fake this is to use prints with consonant hues. Then, if you must use two different colors for main thread and bobbin, it’s not so obvious if the tension isn’t absolutely perfect — the differing colors won’t show though so much on a print. Because the colors I chose here are so different, I used transparent thread for both the main thread and in the bobbin; it picks up the background color very nicely.
In the past, I’d tried sewing with poorer quality transparent thread; this time I used Gutterman, and it made all the difference. I hadn’t been able to use the cheap stuff in a bobbin at all, but the Gutterman worked perfectly — though I had to take special care when winding the bobbin on my Fashion Mate machine.
The Sew News directions have you sew the bottoms of the tanks to each other. I decided to let mine hang freely instead, and opted for hand-sewn hems. I think the garment sits more naturally as a result, but this does mean that I had to make the lengths identical to prevent the lining color from showing on the front. Fortunately, when worn, the ‘inside’ color seems to naturally pull up a little, which helps to keep it from showing.
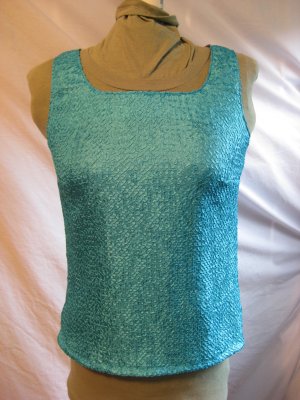
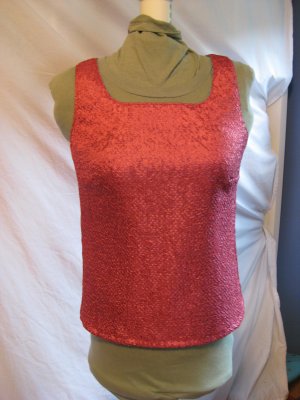
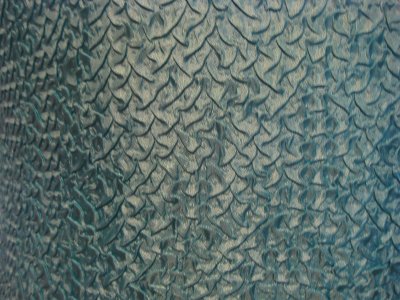
This fabric is not my favorite. The turquoise side looked alarmingly like snake skin once I’d sewn it up. The rose side isn’t quite that bad, but it’s still a bit much. My spouse — he of the bad, bad Hawaiian shirt collection — raised his eyebrows when he saw it, and almost guffawed. “You’re definitely getting your technical skills back” he said. “Now you just need to work on taste.” I hissed, of course, using my best cobra imitation. But even I am hoping that the real thing will look a bit better.


Greetings! I clicked the on the double icon and the directions are no longer on the site. I would like to have directions as I made 2 tank tops but do not know how to put them together to make them reversible. I have sewed them every way possible and cannot do it right. I’m stuck.
help!
Sharon, I’m not sure where to send you, and I’m swamped right now, having just come back from several trips. Try searching for “sewing reversible tank top” in Google; that’s how I found the directions in the first place. As I recall, there were a number of tutorials available, so I expect you’ll be able to turn something up. I hope that works!